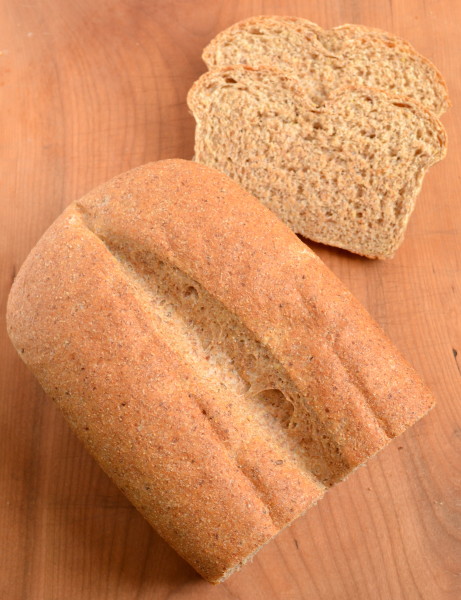
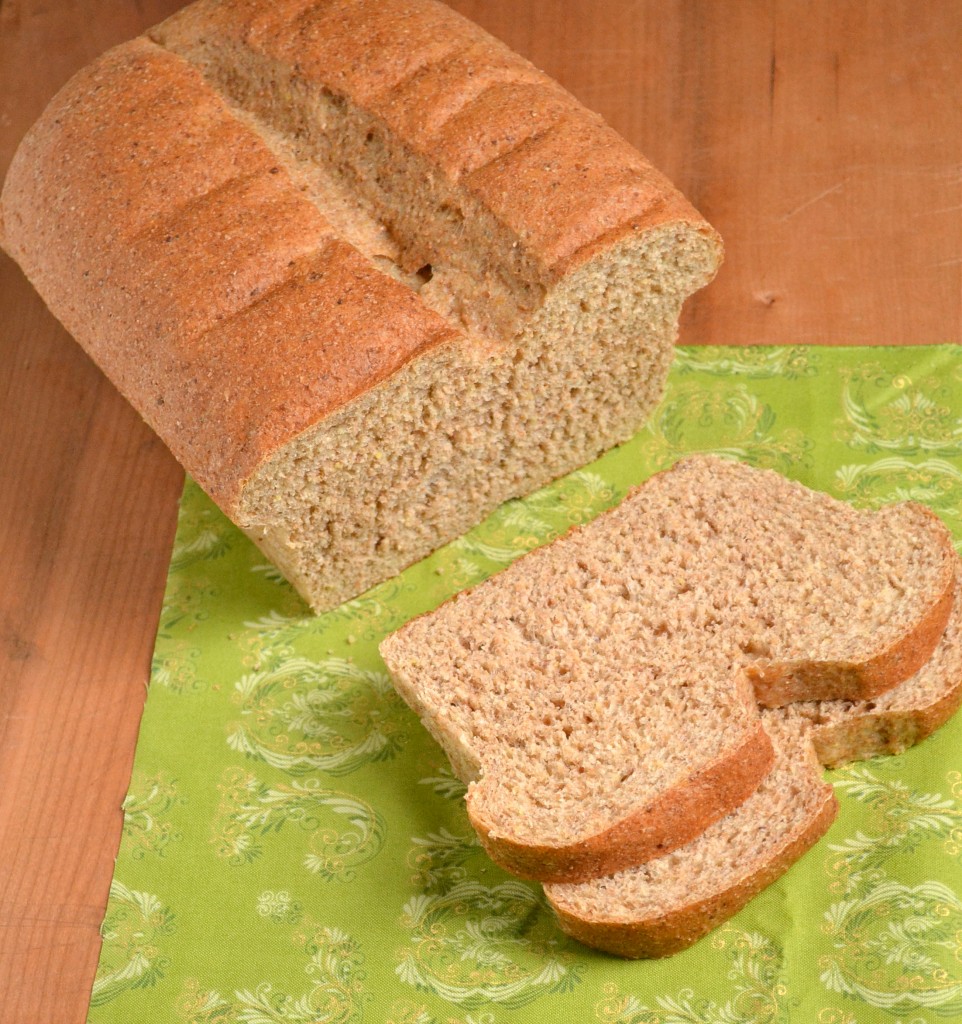
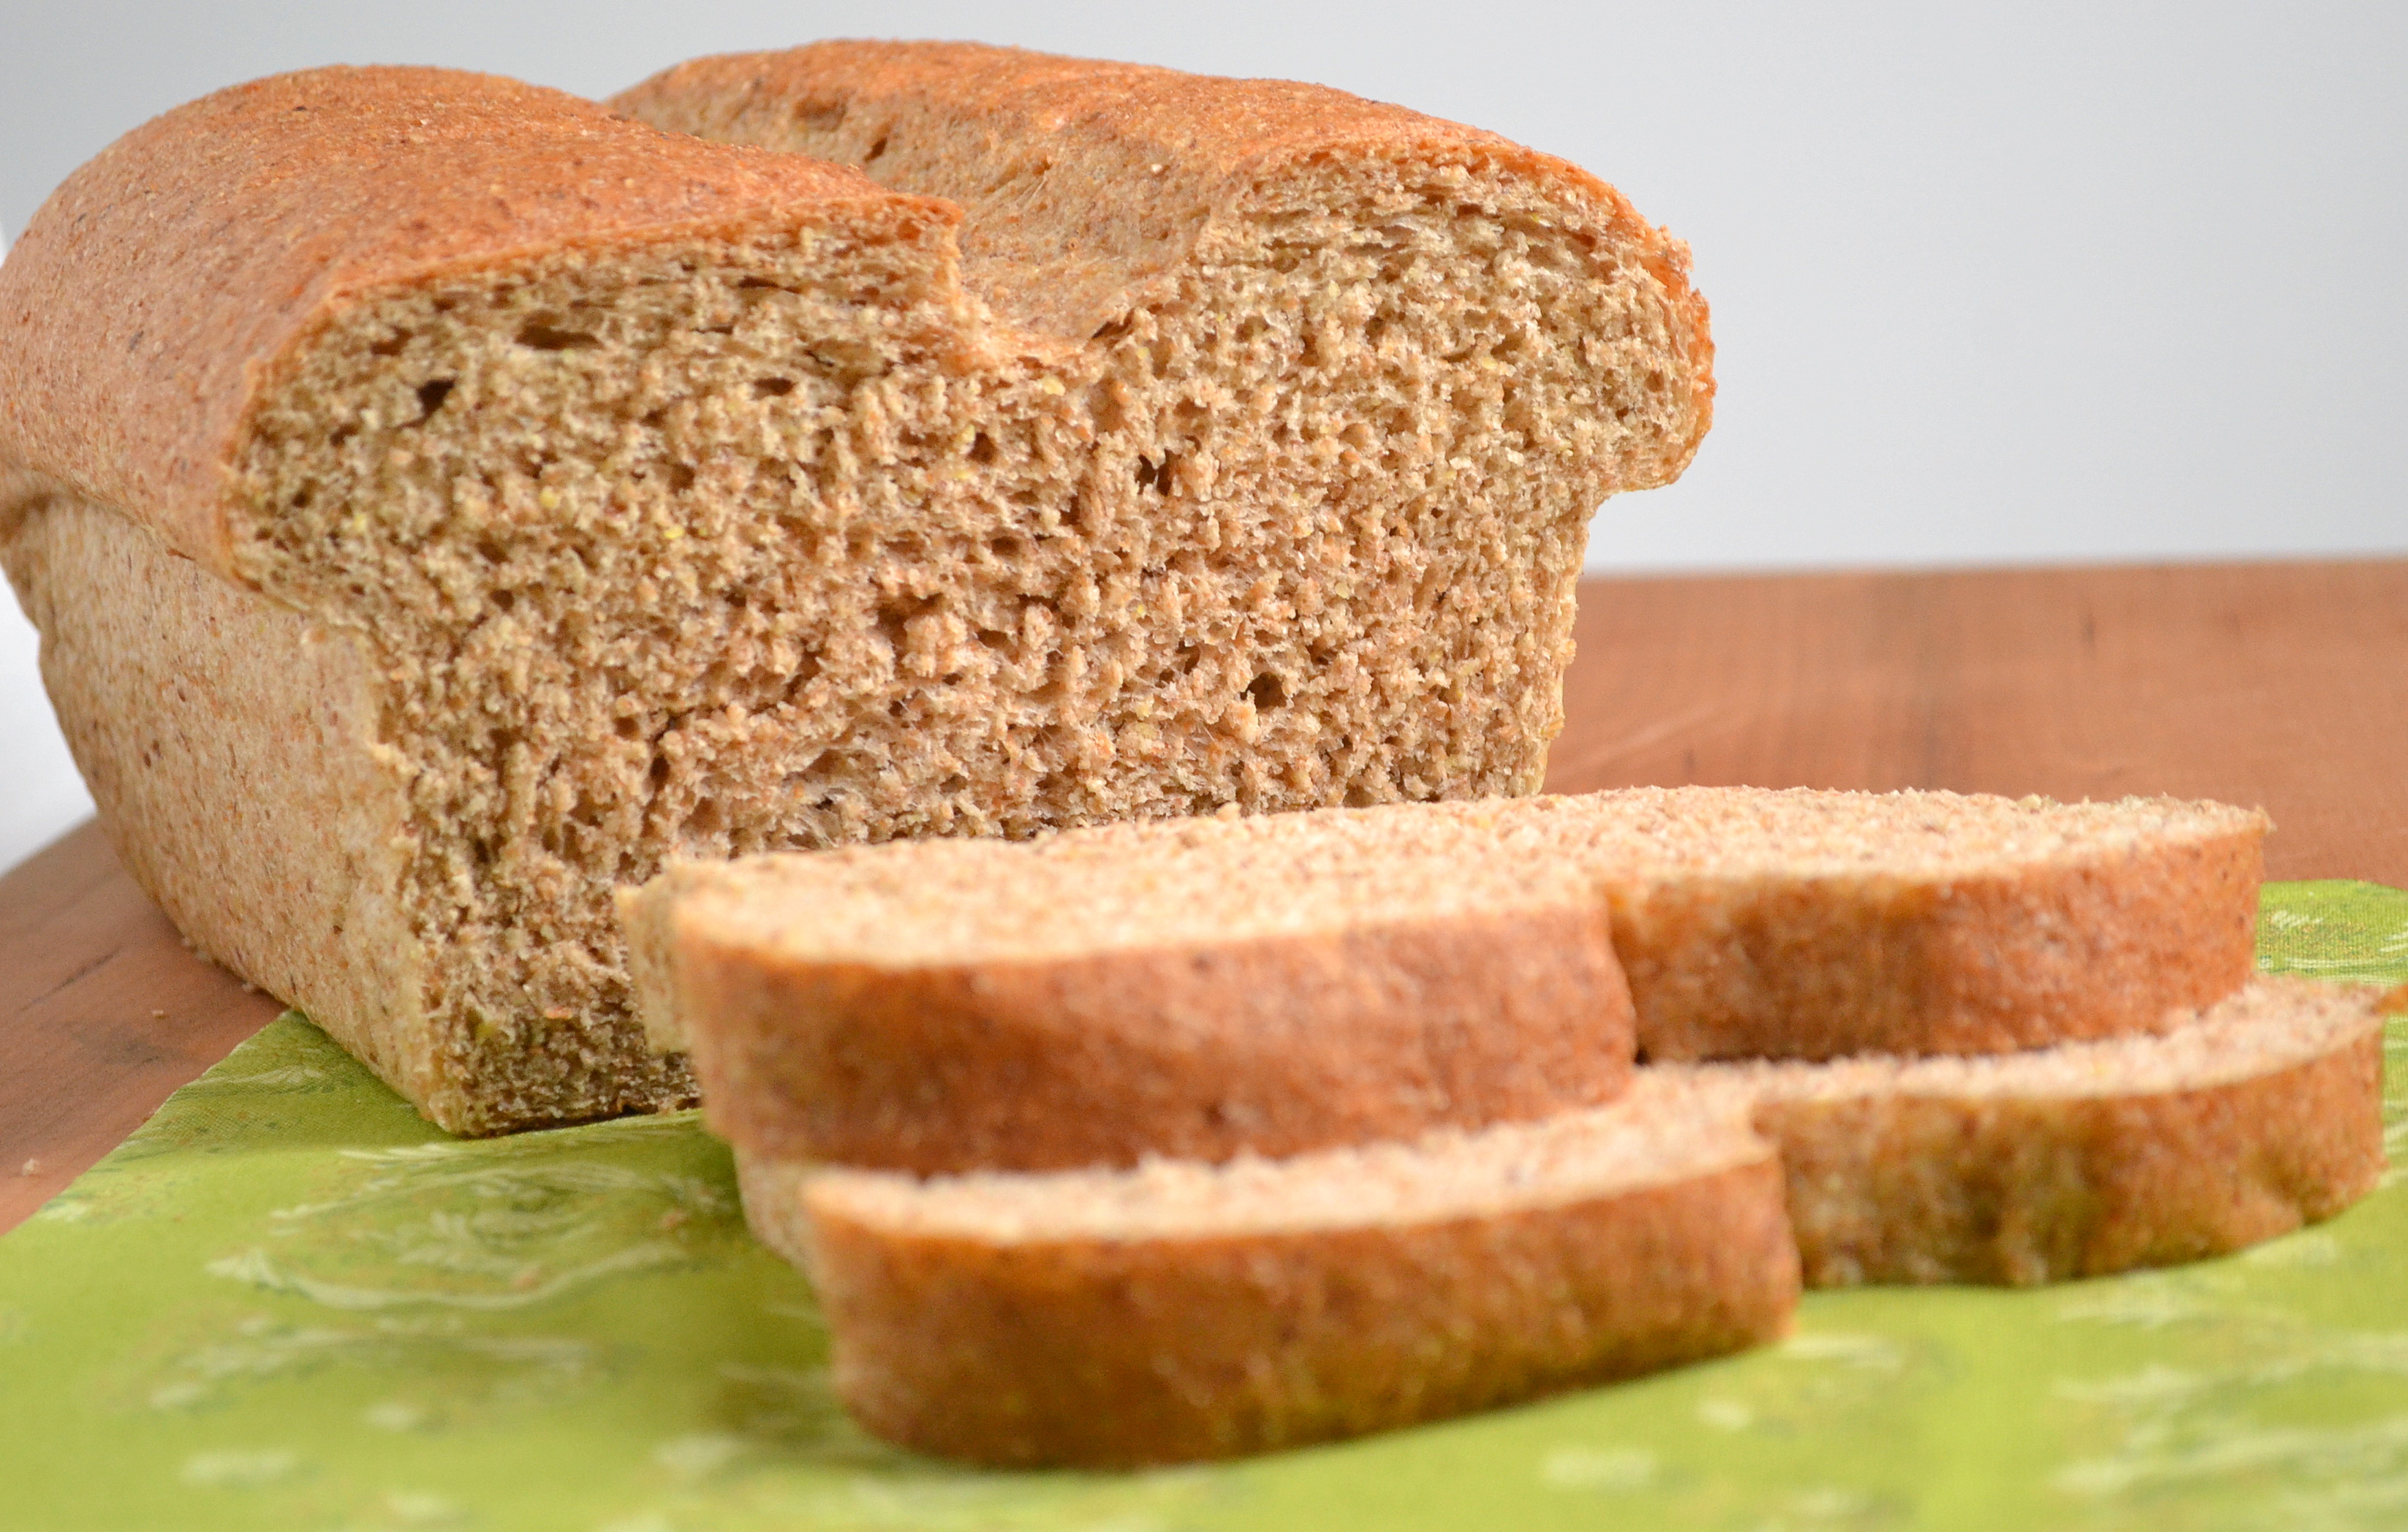
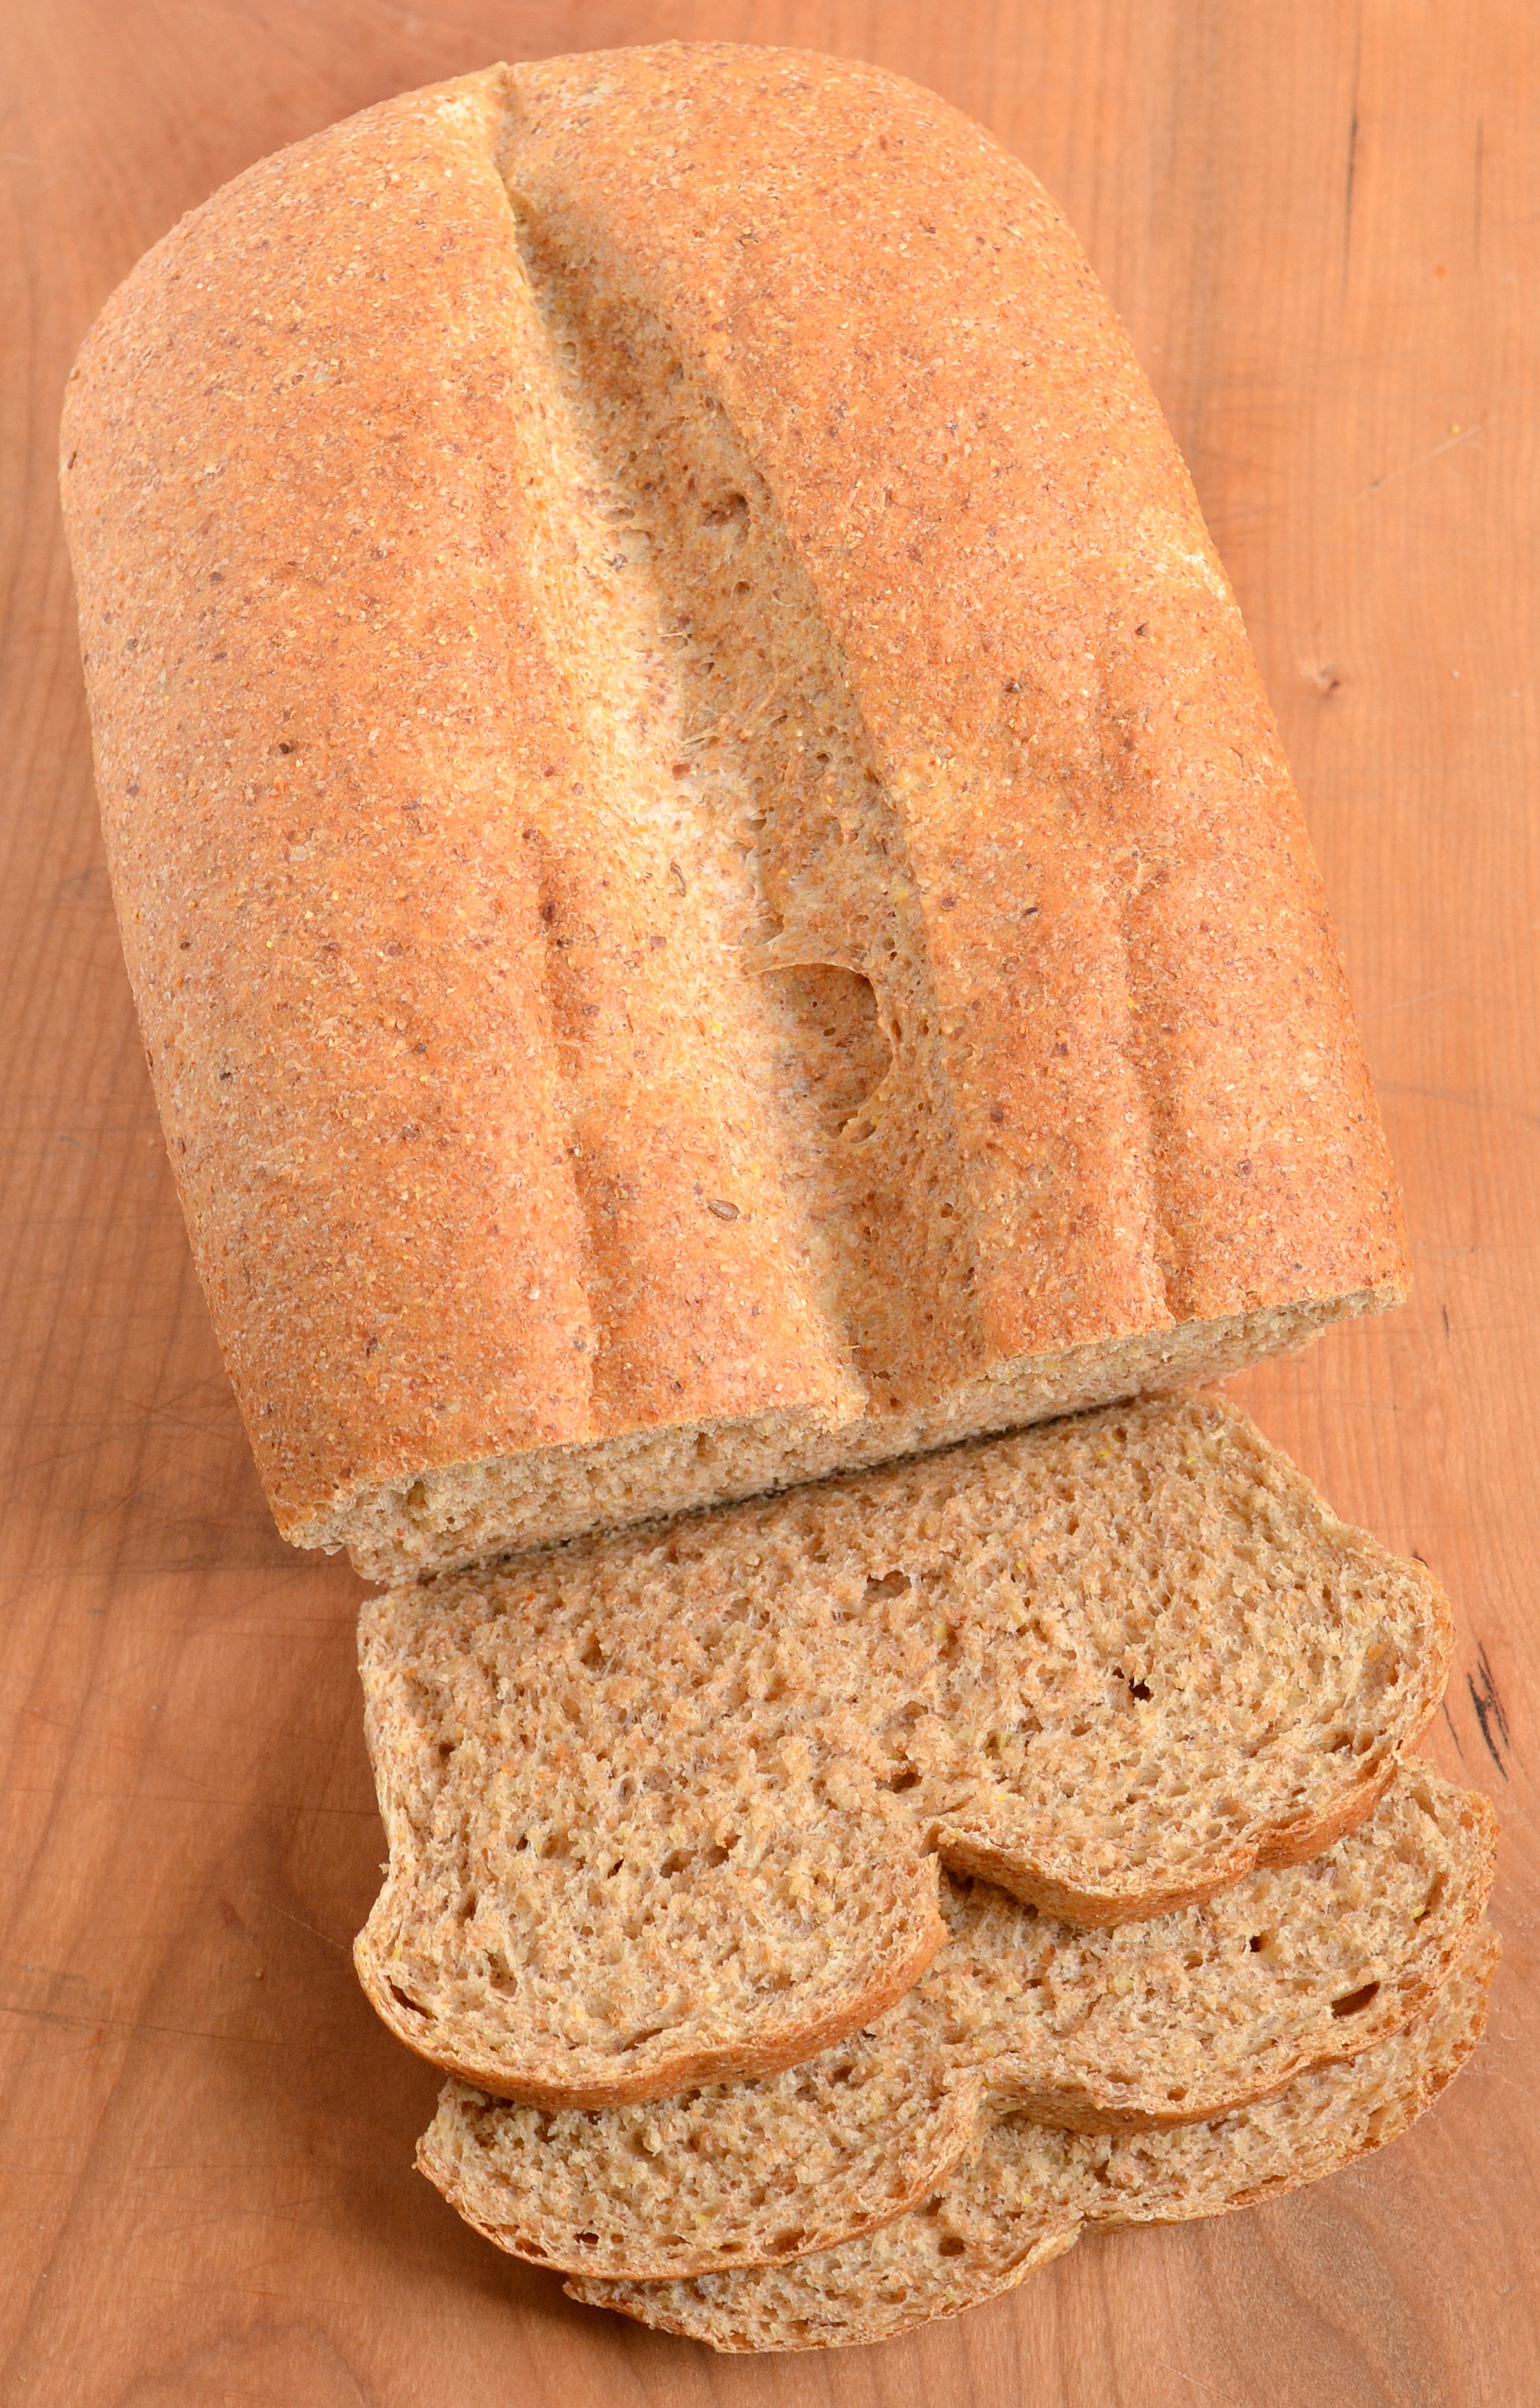
I am so excited about this 100% whole wheat bread. I made it twice in as many days because I had to try it again. My daughter ate two slices with butter all to herself the first day I made it – which is saying a heck of a lot for a little person who isn’t even allowed in a forward facing car seat because she’s too small. The first time I didn’t knead it enough and it was a little crumbly, but the second time it amazed me even more. I’m convinced the secret is in the kneading with any whole wheat bread, and since I don’t have a machine to do it for me, it takes quite a long time. But this bread is really worth it.
And what makes me even more excited is that it’s mostly local. The wheat was grown locally if you remember me mentioning my good deal on wheat in a previous post, the flax seed can be grown locally – although I’m uncertain of whether the flax seed I used was. Not to mention the honey I used was raw local honey and the oats can be grown locally as well. That’s really exciting to me! I’m always amazed at the variety our little valley can produce.
One tip, just watch out that you don’t add too much flour because the dough should still be sticky when you’re done kneading. You have to feel the dough. When it doesn’t have the correct amount of flour added into it you should be able to squish it between your fingers very easily, regardless of how sticky it is because there is a much higher water to flour ratio. Once you’ve kneaded in more flour you can pinch the dough again and feel that there is much less water to flour. If your bread gets too hard because of too much flour, you can wet your hands every few kneads to get some more liquid into the dough and to prevent sticking. After the first rise it wont feel sticky anymore anyways because the whole grains will have had time to absorb the water.
Fluffy 100% Whole Wheat Bread
Ingredients
- 1/4 cup warm water
- 2-3 tablespoons raw honey
- 1 tablespoon active dry yeast
- 2 cups warm water
- 1 1/2 teaspoons unrefined sea salt
- 4 tablespoons softened butter
- 1 tablespoon lemon juice
- 6-7 cups freshly ground flour from hard red wheat
- 1/3 cup freshly ground flax seed meal
- 1/2 cup whole toasted pumpkin seeds or 1/3 C old fashioned or instant oats optional
Instructions
- Mix the 1/4 cup water with the honey and yeast and let sit at least 5 minutes. I did the rest of my mixing a little differently than the original recipe(you can decide what works best for you) and added a tablespoon of lemon juice, 2 cups of water along with the flax seed and a couple cups of flour. Then I continued to mix in flour till a very sticky dough formed, about 5+ cups. I then let it rest for about 15-20 minutes.
- When I came back I added the very soft butter, salt and any add ins like seeds or oats(I've read that letting the dough sit without salt or any add ins that would rip the gluten can help to strengthen it, although I'm not 100% sure). I mixed it very well by hand with a spoon and then slowly started adding more flour till I could turn it out to knead it, about 6 cups total flour added.
- Then I lightly dusted my surface, turned out the dough and lightly dusted it as well. Then I set to kneading, quickly folding over the dough towards yourself and then pushing it forward with your palms. The power should come from your whole body though, not just your arms as you'll get tired very quickly. Kneading should almost be a whole body movement. I'm pretty sure however you knead is good enough but if you're not sure, you can always find plenty of videos on how to knead. In any case, I kneaded for about 10-12 minutes and then I covered and let it rest for a few minutes while I washed out my bowl and washed the dried dough bits off my hands. Then I went back and kneaded some more. You should be able to look at the underside of the loaf and see no tears in the smooth layer of gluten, if you do, keep kneading. The dough should look white with flecks of bran in it and it should be able to stretch without ripping. Check out the original recipe for a great picture of what it should look like. How I described the kneading process to my mom - knead until your arms fall off... twice. 🙂
- Then cover and leave the dough in a large oiled bowl to rise, this should take between 1 and two hours. Depending on how warm the area where the bread is. I usually prefer to keep my dough cool so this makes the rising time longer. Make sure to let it rise as much as it will rise because this will stretch the gluten and strengthen it too. You can test it by poking the dough about 1" into the dough. If a hole where your finger was remains, it's done rising. Lightly grease or butter two loaf pans. Turn out the dough and knead a few times to get the air out. Divide in two and shape. I found it easiest to shape these by using a kneading motion in just one area and not moving the dough around, except to flip it and repeat on the other side, but do whatever works for you. You want to have a very smooth top to the dough. Once they're formed, cover and let them rise about an hour or until they're just over an inch above the top of the pan.
- Preheat your oven to 350 degrees. I like to slash my loaves but as you can see I slashed a little too much in these loaves, only slash about 1/4" or just leave them plain. I like to have a pan of water in the bottom of my oven and I give the loaves and the inside of my oven a spritz of water before leaving them in there to bake. Bake 20-25 minutes. Remove them from the oven and let them cool at least 10 minutes in the pan before turning them out and cooling completely on a rack. The bottom of the loaf is very light in color but it firms up after cooling. Once you've cooled it completely you can slice and freeze it or keep it in a bag on the counter for use over the next few days. This bread is perfect for sandwiches or just toast. It's very filling and heavy in a whole wheat way, but it's not nearly as dense as most homemade whole wheat breads I've tried.
Submitted to Yeastspotting and posted to Sugar Free Sunday for this week.


Comments & Reviews
Mary Cooley says
I have just started milling my own wheat and have tried a few bread recipes(tasted good but bread did not rise and was very dense)….this recipe hands down wins! Delicious, easy, and the bread looked like store bought bread! My new fave!
Thank you so much!
Erin @ Food Doodles says
You’re welcome! I’m so glad that you liked it. Thanks for your feedback! 🙂
Monica says
Great! I am a big fan of homemade bread and I always like to try new recipes. 🙂
Brenda Sawyers says
Have been looking for a good whole wheat bread. Think instead of using the yeast I could use a ball sized piece of my “fed” sourdough starter from my fridge ?
Heidi @ Food Doodles says
You could try it! I’m really not sure as I’ve never tried. You’ll need to adjust the water and flour depending the consistency of your starter, but I assume it would work just fine. If you try it let me know how it works!
emily says
i’ve been looking for a plain whole wheat recipe; definitely bookmarking this one to try! 🙂
Laura Flowers says
I love that you made this hearty bread with local ingredients! That makes it so much more special.
Laura
Heidi @ Food Doodles says
I’m so glad 😀 I was so excited when I realized the majority of the ingredients were local!
Emily says
Oh wow! This bread looks amazing! I love that you used fresh ground wheat. I wish I had a grain mill.
Heidi @ Food Doodles says
Thank you Emily! I actually wasn’t sure about using a grain mill but then my mother in law gave me her old one and I love it! When this one dies(I think it’s 15+ years old) I will buy a new one for sure especially since you can buy whole wheat berries a lot cheaper than buying flour.
Lauren (PB&G) says
Your bread looks great!! There’s nothing like a slice of toasted homemade bread.. mmm!
Heidi @ Food Doodles says
Thank you! I totally agree!
Ellie @ Kitchen Wench says
This bread looks crazily fluffy!! I’m going to have to give this a shot over the Easter long weekend, I think it would be perfect for a hearty homemade breakfast!
Heidi @ Food Doodles says
Mmm, it is! That’s how my hubby and kids have been enjoying it 😀
Lisa says
This looks amazing! I’m going to pass it on to my mom–she is always looking for new bread recipes!
Heidi @ Food Doodles says
Thank you Lisa! I hope she enjoys it if she tries it 🙂
Raj @ flipcookbook says
Hi Heidi, thanks for sharing this sugar free bread at this week’s Sugar Free Sunday! It looks so good. I love your description of kneading heh!
Heidi @ Food Doodles says
Thank you 😀 And thank you for hosting Sugar Free Sunday – I’m always looking for new ideas 🙂
Jess@HealthyExposures says
Wow…this bread looks absolutely amazing. I can only imagine how good it tastes! I don’t think it would stand much of a chance at lasting more than a couple of days here, either 😉
Heidi @ Food Doodles says
Thanks Jess! It’s amazing how fast it goes, haha. I made 4 loaves in two days and we gave one to my inlaws and I froze one. Well we just took out the frozen one this morning. It didn’t last long in the freezer 😀
thequirkykitchen says
mmmmmm! I can literally smell it coming out of the oven….love fresh bread!
Heidi @ Food Doodles says
Mmmm, best smell ever? 😀
Lauren Hayes says
This bread looks so yummy! Very soft and fluffy looking!
Heidi @ Food Doodles says
Thank you! I actually tried to comment on your blog the other day but it wouldn’t let me for some reason 🙁 Maybe I’ll go back now and try again.