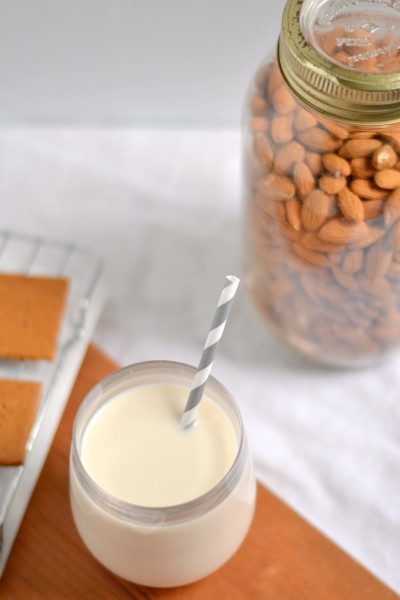
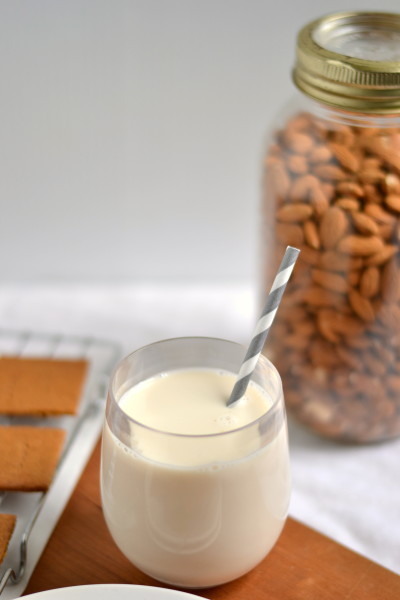
Have you ever wondered if it’s possible to make your own almond (or other nut milk) at home without a high-speed blender? This vanilla maple almond milk recipe is for you.
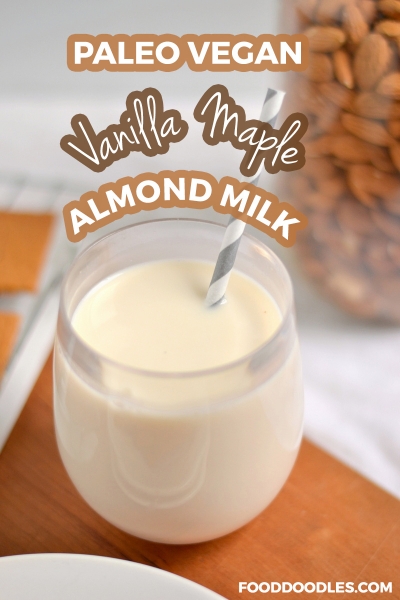
I have just a simple recipe to share with you today, and it’s definitely not something original, I actually consulted The Kitchn before starting out, but I am hoping to share a technique with you that might be of some help to some people.
Specifically, people like me without a full-sized blender or a food processor that doesn’t leak liquid out the sides. We have a magic bullet, which I love, but I haven’t been able to settle on a full-sized blender. Of course, I want a good quality one, but I’m not so sure I’m willing to spend the money on a Vitamix or Blendtec.
If you have one please give me your opinions on them. But until I decide one of those it worth the price tag I’ll be making do with what I have.
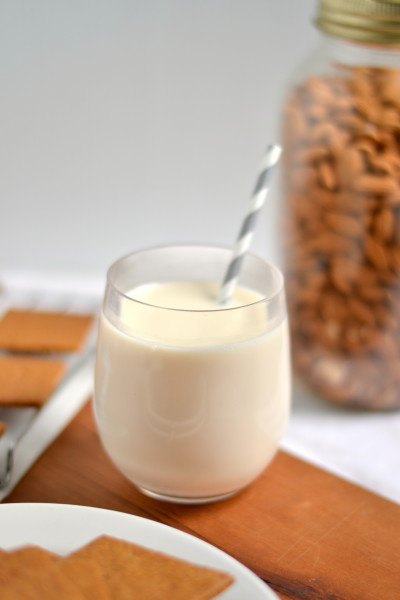
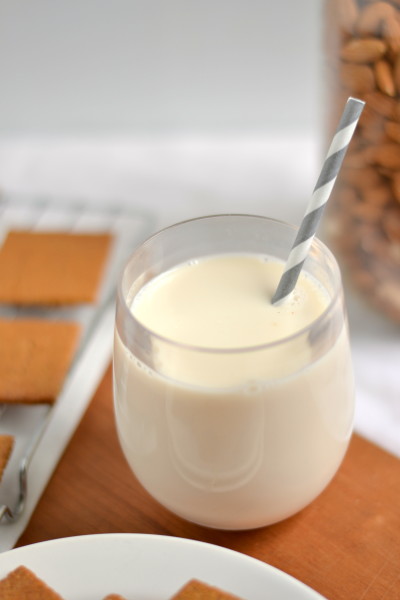
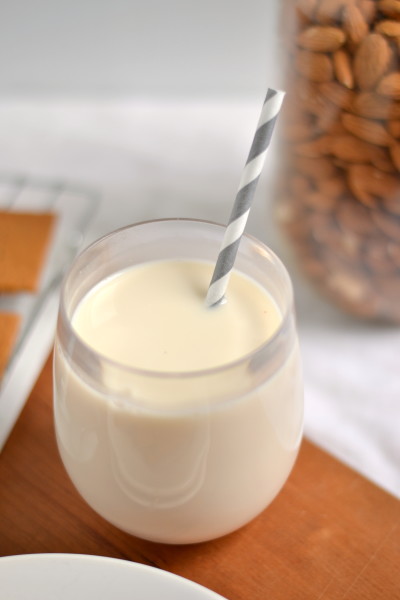
First off, let me tell you that homemade almond milk is totally worth the effort. It is incredible! It’s so creamy and delicious, almost nothing like the boxed stuff.
And with the added bonus that there are no weird ingredients in this, as there usually is in any you buy that’s in any way processed. That being said, this vanilla maple almond milk doesn’t keep as long, so the boxed stuff will still be nice to have on hand.
But this will be a special treat for us. I’ll be working on ways to use the pulp too if anyone is interested in that.
I couldn’t just waste it so I stuck it in my dehydrator and dried it to use later, so I’ll have to find some way to use it 🙂
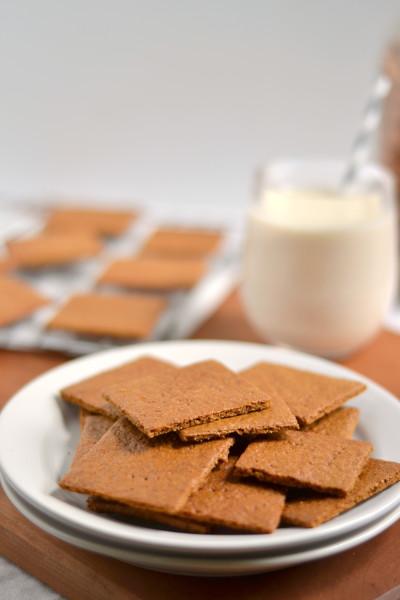
One more thing before I forget, at the same time I quickly redid the photos for my graham crackers which you can see a preview above, but for the rest of those pictures, and our favorite recipe for 100% whole wheat graham crackers go here!
We make those graham crackers so often now, it’s seriously one of our favorite recipes on this site. I used them for the base of my Greek Yogurt Cheesecake and in these Chocolate Covered Cheesecake Popsicles and the bonus is, you can make a vegan graham cracker crust with coconut oil since the crackers are vegan!
To make them more simply now I just roll them out directly on my baking mat (or parchment paper) with plastic wrap over top to prevent it from sticking to my rolling pin instead of flouring. I trim the edges and save those pieces to roll out with the next batch, cut into squares and put the crackers directly in the oven.
Bake the necessary amount of time then slice on the lines again to make sure they’ll break apart cleanly and then pull the baking mat or parchment paper onto a cooling rack and let them cool. It’s so simple and fast, I do it all the time, they’re one of our favorite snacks. And once I even left out the granulated sugar by accident and they turned out to be a nice, less sweet treat, in case you’re wondering how to reduce the sugar.
But back to this homemade almond milk! I feel like I’m being a bit deceiving as I did use a blender to make this almond milk, but instead of a full-sized blender, I used an immersion blender! I was afraid it wouldn’t work but I’ve been wanting to try homemade almond milk for ages now that I just had to give it a try.
And it worked perfectly! I’m assuming even my little magic bullet would work awesome, obviously with small quantities, or even a mini food processor, or a regular food processor would work great as well.
Although anything too liquid seems to spill out the sides of my food processor so I’d start with just enough water to get it blending then add more to thin it out later. Anyways, if anyone is wondering, I use this immersion blender (with attachments) and I just love it!
This opens a whole new world to me! Homemade almond milk is awesome! And what about other nut milks? I’m so excited 🙂
And the flavoring possibilities are endless as well. I added vanilla and maple to this batch but a couple of dates would be wonderful to sweeten almond milk with. Vanilla is great but there are so many spices to play around with.
I can just imagine a warm glass of almond milk with honey and cinnamon on a snowy day in the winter along with some of this keto oatmeal. Doesn’t that sound perfect? Mmm 🙂 Enjoy!
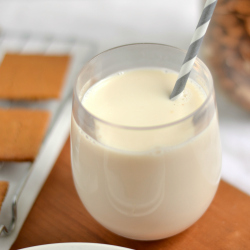
Vanilla Maple Almond Milk(Without a Blender!)
Ingredients
- 1 C raw almonds soaked in water overnight and drained
- 2 C water
- 2 tbsp pure maple syrup
- half of a small vanilla bean seeds scraped out or 1/2 - 1 tsp real vanilla
Instructions
- Soak almonds overnight in at least twice as much water. After soaking rinse and drain before placing in a large bowl(or a large measuring cup works well) with the 2 cups of fresh water.
- Using an immersion blender blend until creamy and no large pieces of almond remain. Add the maple syrup and vanilla bean seeds or vanilla extract and blend again until smooth. When done blending pour mixture through a fine sieve lined with cheesecloth to remove all the almond pieces. Squeeze any remaining milk out and store in a jar or other suitable container in the fridge for up to 2 days.


Comments & Reviews
Lesa says
Ya I was disappointed too. I know how to make seed and nut mylks but want to make them Simply without machines too… Guess I gotta figure it out to share
MT says
You may already know this by now, but you can make almond milk using almond butter. Mix in a few tbsp of water with a few tbsp of almond butter, then add more water. There are recipes online
Taylor Metzler says
While it sounds excellent, an immersion blender is still a blender, thus the title is lying.
Heidi @ Food Doodles says
Yes, I meant to have “without a full sized blender” as the title, but unfortunately this is what it is. My apologies.
Kitchen Gear says
I’m a vanilla lover! This is sure to be a hit at home when I try this recipe. The whole family will definitely be excited to try this as well especially that no blender is needed!
Jenny says
This looks great! I have a blendtec and it is so worth it.
Vicky says
Naaaww I was trying to find out how to make almond milk without a blender! It was the single most common ingredient in medieval cooking, so I wondered how they made it without modern technology. They must have just set loads of peasants to work with a pestle and mortar lol.
Erica says
So glad you wrote this post. I have been lamenting the fact that I don’t have a blender and saving up to buy one. My stick (immersion) blender works just fine and now I have homemade almond milk! Thanks so much!
Marie Roxanne says
Will be giving this a try tomorrow! I have an OSTER blender so I will see what happens… LOL
Heather says
I love this Heidi, I absolutely LOVE my immersion blender and have wondered the same, if it would work for making almond milk. Awesome recipe, love the idea of warm almond milk with honey and cinnamon!
Erin @ Texanerin Baking says
Oh yum! I made cinnamon maple almond milk recently and it was yummy. So much better than the kind in a box! And I’ll have to check out that graham cracker recipe. I need one because we don’t have graham crackers over here!
Kathy McSparran says
I have a Tribest (bullet type) blender and I could not eat a healthy diet without it! It is a super high quality appliance that liquifies anything you put in it. It has well-thought out accessories that are included at no extra charge like sippy cup lids, which are great for blending breakfast smoothies to go. I buy blanched almonds in bulk, throw a handful in the Tribest blender cup and blend with the grinder blade for 10 seconds, add water and a date or a few drops stevia and blend another 10 seconds and voila! – almond milk with only a glass and a grinder blade to rinse off. It’s so vital to my healthy lifestyle, that I take it with me whenever I travel. I make vanilla and chocolate chia seed pudding in it. I make salad dressings in it. I make hummus and salsa in it. I make smoothies in it. I have an immersion (stick) blender for pureeing big batches of soup right in the pot, but since dear Hubby doesn’t eat the same way I do, the Tribest makes just the right amount of everything else for me without a ton of leftovers, which means I am eating FRESH everything all the time. LOVE this kitchen appliance like no other!
Lien says
Get a vitamix!! It’s well worth the price! It will pay for itself in the long run!!
Melanie @ Just Some Salt and Pepper says
This looks fabulous and SO TASTY!
Kiersten @ Oh My Veggies says
I have a Vitamix and I love it–I use it all the time and it’s one of those things where I didn’t realize just how much better it is than a regular blender until I actually tried it. But I love that you can do it with an immersion blender! As long as you’re straining the milk anyway, I don’t see what the big difference would be between that and an actual blender. This looks so creamy and perfect!
Sam says
I just found this post today. I’m a new fan of almond milk. Great pictures and great idea to use an immersion blender!
Ari @ Ari's Menu says
I.Am.Obsessed.With.This.Post. I’ve been dyyyying to make my own almond milk, and the vanilla and maple syrup just take it over the top! You are amazing, Heidi!
Susan says
Hi Heidi,
Thanks for showing that nut milks can be made without a full size blender. I don’t have an immersion blender, but I do have a Magic Bullet (love it, couldn’t live without it!) and a full size blender. The blender I have, which I like a lot, is made by Cuisinart, and it has both a big glass blender jar and a mini food processor that fit on the base. You can use the food processor speed with the blender jar, and it also has a very effective ice crusher speed, as well as the usual blender speeds. Here’s a link to their website for what appears to be the same item: http://www.cuisinartwebstore.com/detail/CUI+BFP%2D703 This is by far the best blender I’ve ever had.
BJackson in Indiana says
FWIW I have a Blendtec and it is a true workhorse. It gets severely used regularly because I feed a raw diet to my two Great Danes and the veggie & fruit component (which is very similar to home-made baby food) all ends up being final-processed and mixed in my Blendtec. I’ve been doing this for about a year and a half so you know this isn’t a short term or small volume process. ::smile::
I’ve never used a Vitamix but have heard lovely things about them also – and also from people using them for similar work.
Good luck on making a choice because from what I’ve seen both are good. 🙂