This skeleton veggie tray is perfect for Halloween parties or any spooky gathering! It’s a playful, healthy option that adds a burst of color and fun to your table. The vibrant assortment of vegetables and dip is arranged to form a skeleton shape, making it an eye-catching Halloween centerpiece that’s sure to be a hit with both kids and adults.
It’s really one of the best healthy Halloween snacks for preschoolers as well as older kids. The colorful vegetables and fun skeleton shape will grab their attention while offering a nutritious alternative to sugary treats.
It’s perfect for little ones who love playful, hands-on snacks, and I made sure to use the easiest-to-prepare and most kid-friendly vegetables.
It can be tough to find colorful and healthy Halloween food for parties, much less sugar-free ones. We love this Halloween Fruit Salad, which we’ll also be serving at this year’s Halloween party, but fruit is still full of sugar.
This veggie tray skeleton is an excellent alternative to sugary treats, giving your guests a nutritious option to munch on during the festivities.
This Halloween Mac and Cheese is another great sugar-free option, but mac and cheese tends to firm up quickly, making it not as ideal for parties.
Ingredients
Creating a skeleton veggie tray might sound complicated, but it’s actually quite simple! You just need a few fresh ingredients and some dip.
Here’s a quick overview of what you’ll need to bring this spooky snack to life.
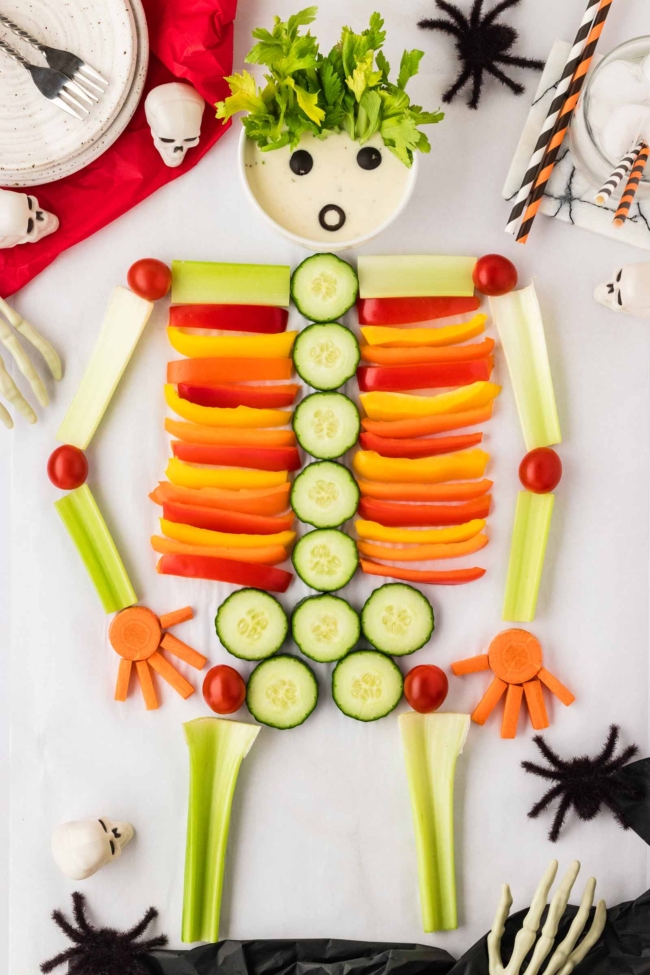
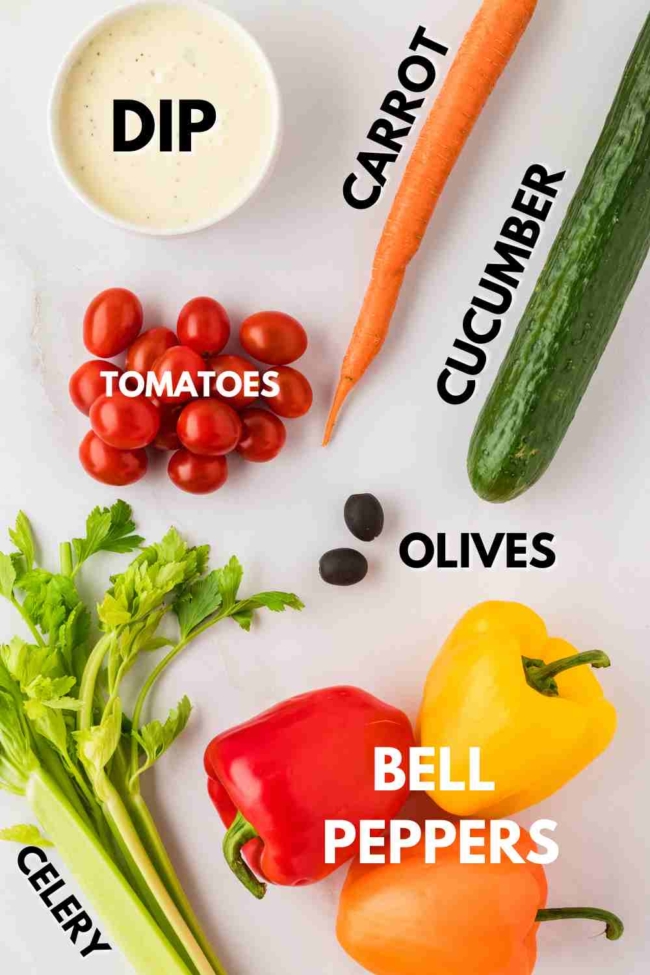
- Red, orange and yellow bell peppers – great for adding bold color and a crisp texture to your tray. These form the ribcage.
- Celery – 4 stalks should be enough for the skeleton’s arms and legs. The leftover celery can be used in this Chicken Bolognese I just posted.
- Cucumber – use this to create the spine and pelvic bone. If you don’t like bell peppers, you can slice cucumbers lengthwise and arrange them in rows to resemble ribs.
- Large carrot – I used these for the hands.
- Little tomatoes – cocktail tomatoes or other small, round tomatoes work best for the joints or even as eyes.
- Dip – use whatever whitish dip you like to form the skull.
- Black olives – these can be used for the skeleton’s eyes and mouth, adding a dark, spooky touch.
What to serve it on
For serving your skeleton veggie platter, it’s best to use a large, flat surface that gives you plenty of room to arrange the vegetables. My skeleton was 13.4″ x 19.7″ (34 cm x 50 cm).
If you have some kind of huge surface, and you can add legs to your skeleton, you can certainly do that. But if you only have room to do the thighs, like I did, I think it still looks great.
Here are a few options.
- Large serving platter – a large rectangular serving platter works great and keeps the design compact and tidy.
- Baking sheet – if you don’t have a large platter, a rimmed baking sheet provides ample space and helps keep everything in place.
- Wooden board – a large wooden cutting or charcuterie board adds a rustic touch and gives the platter a sturdy base.
- Tray covered in parchment paper – for easy cleanup, you can use a large tray lined with parchment paper to serve the veggie skeleton.
Make sure whatever surface you use has enough room to spread out the skeleton while leaving some extra space around the edges for dipping bowls or maybe even other fun Halloween appetizers.
How to make it
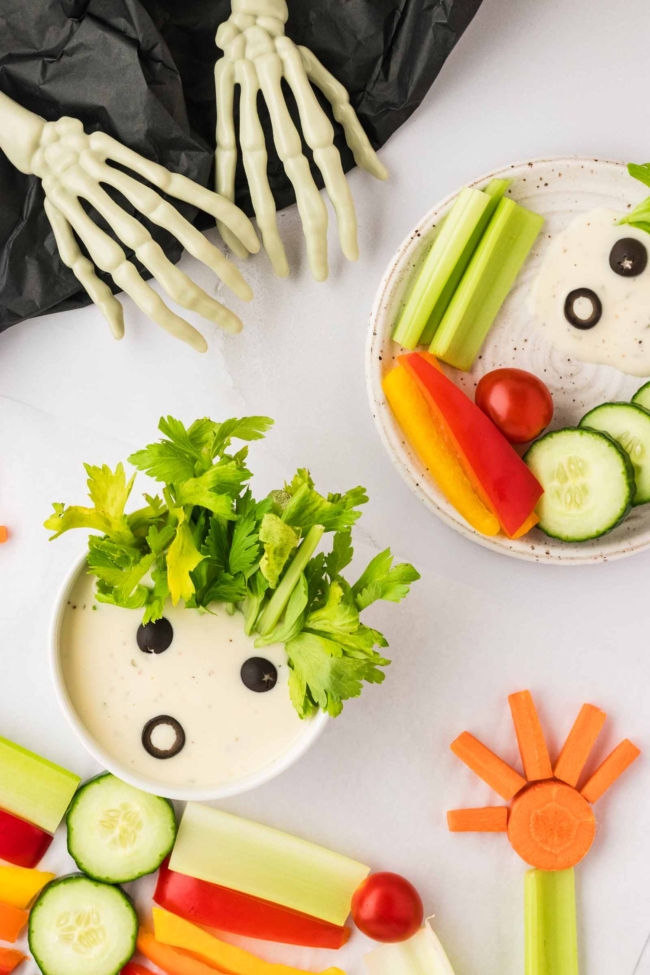
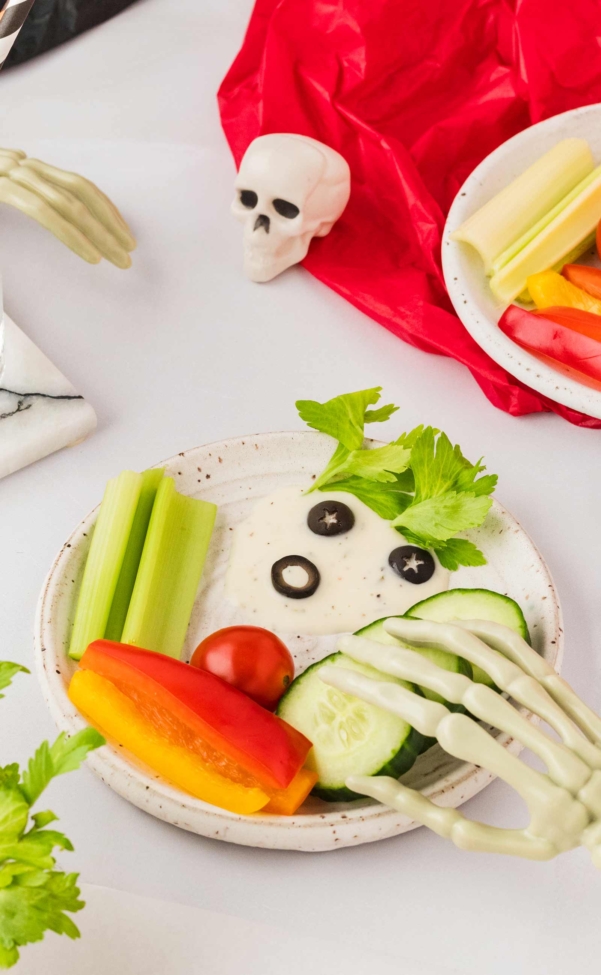
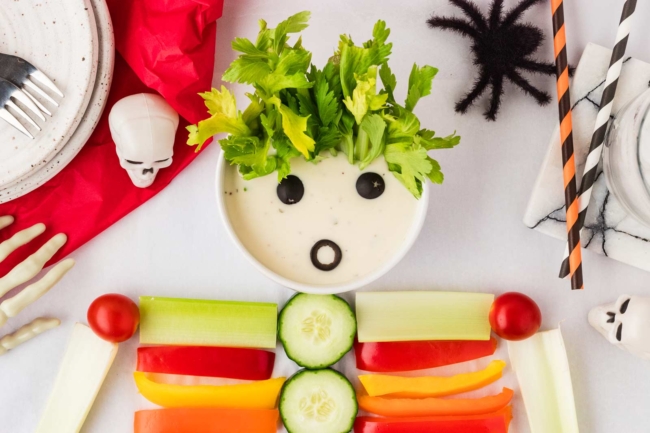
To make your skeleton veggie platter, start by laying out the dip where you want the head of the skeleton to be, then work your way down the body. Use celery for long bones like arms and legs, while smaller items like tomatoes or olives work great for details like joints or eyes.
Keep the arrangement simple by sticking to basic skeleton shapes, focusing on the head, ribs, arms, and legs.
Make sure to slice everything evenly for easy dipping and a neat presentation.
You can also get creative! Feel free to add or swap in other vegetables like broccoli, cauliflower, or even fruits to make your skeleton unique.
Make ahead
If you’re preparing this veggie skeleton tray for a special event, you can cut all the vegetables the day before and store them in airtight containers in the fridge.
I recommend storing the bell peppers in one container. The carrots, cucumber, and tomatoes can go together in another container.
I would cut the celery right before serving.
Then, when it’s time to serve, simply arrange the vegetables into a skeleton shape. It’ll save you a lot of time on the day of the party, so you can focus on enjoying the fun and not be in the kitchen the whole time.
I spent 1 1/2 hours of our last Halloween party in the kitchen, making pizza from scratch. So, so stupid.
I’ve learned my lesson and will prepare as much as possible in advance this year. I’ve already got the dough for these Spider Cookies in the freezer and a dry mix for these Spider Cupcakes already made, so I just have to add the wet ingredients and bake.
I’m also making a large batch of these Witches’ Brew Cocktails the night before to make sure they’re thoroughly chilled and ready to go.
How to store
If there are any leftovers from your vegetable skeleton platter, you can refrigerate the veggies in airtight containers for up to two days. Store them separately, as I mentioned above.
Or throw it all together (minus the dip) if you don’t mind everything tasting of bell pepper.
Variations
- You can swap out the vegetables for fruit if you want to make a fruit skeleton platter instead.
- Try using broccoli florets or cauliflower to create hair or extra texture for your skeleton.
- If you’re looking for a vegan option, be sure to use a plant-based dip that pairs well with your veggies. I’ll be using this Vegan Ranch Recipe for this year’s Halloween party.
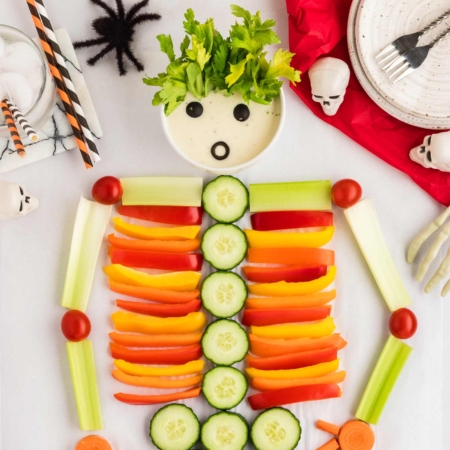
Skeleton Veggie Tray
Ingredients
- celery - 4 stalks should be enough
- 1 large cucumber
- 1 medium red bell pepper
- 1 medium orange bell pepper
- 1 medium yellow bell pepper
- 1 large carrot
- 6 cocktail or other small round tomatoes
- dip
- 2 black olives
Instructions
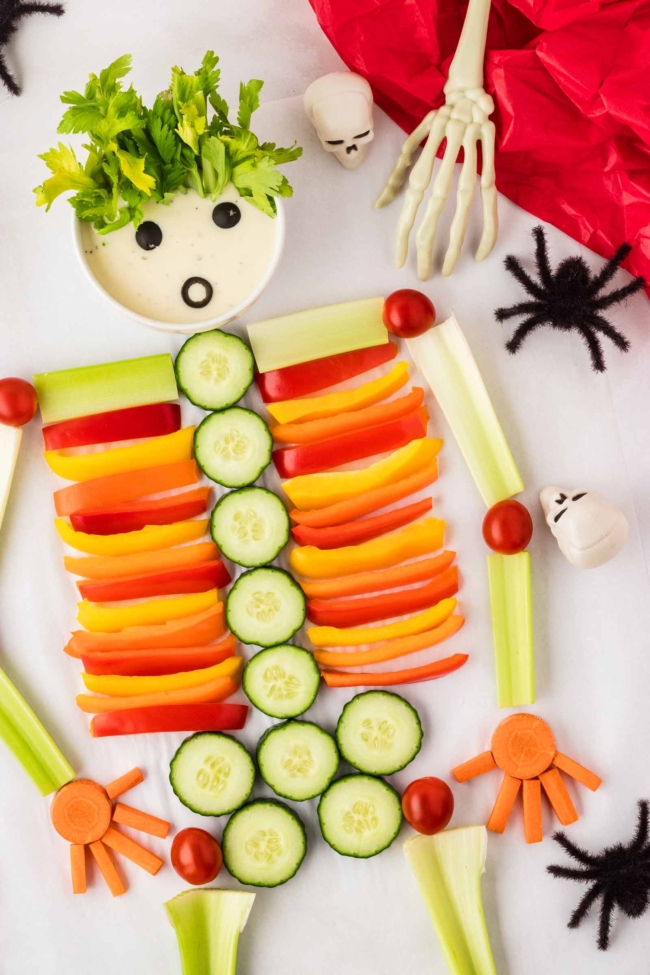
- Place a bowl of dip at the top of the tray to represent the skeleton's skull.
- Cut up 4 celery stalks to create the skeleton's arms, shoulders and legs. Lay them out from the "shoulders" down to where the hands and feet would go.
- Slice the cucumbers and arrange the pieces to form the spine and the pelvic bone.
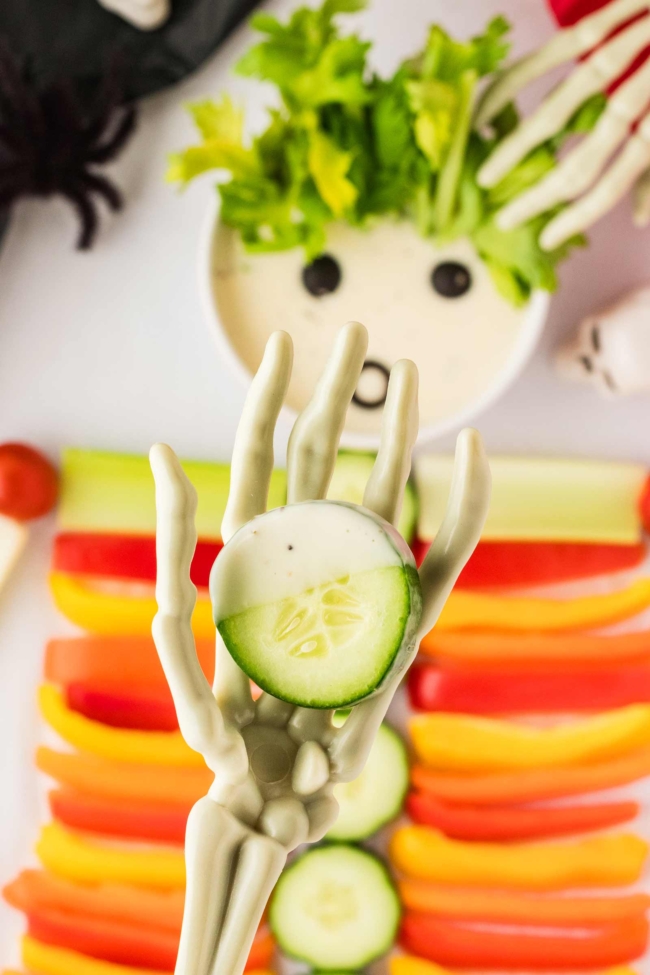
- Slice red, orange, and yellow bell peppers into strips and lay them out to form the ribcage of the skeleton, layering them to create a colorful look.
- Cut the large carrot into smaller pieces and arrange them at the ends of the celery stalk arms to form the skeleton’s hands.
- Place small, round tomatoes at the "joints," such as shoulders, elbows, and above the thighs.
- Use black olives to create the skeleton’s eyes and mouth. Keep covered and refrigerated until ready to serve.


Leave A Reply!