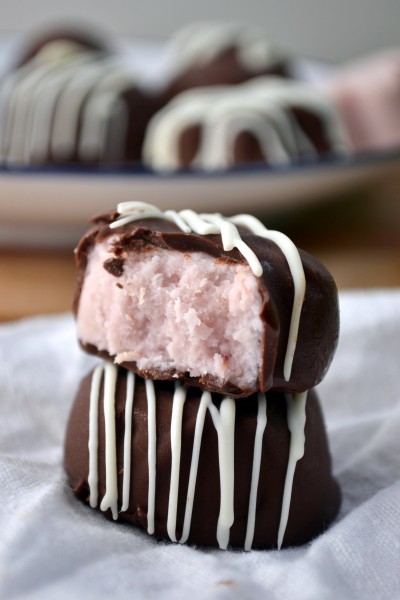
To say I’m proud of these little candies is an understatement. I’ve made coconut butter before but I’m not usually a huge fan unless it’s in or on something, or at least slightly sweetened. I don’t know what popped into my head to try this combo. And I’ll be completely honest, the room temperature mixture is kind of gross. The texture is grainy and blah and the chocolate is too soft. And in the freezer they’re actually not that great either, grainy again, and the chocolate is too hard. I was a little discouraged and I certainly wasn’t going to post anything that didn’t have the texture I wanted. My one last attempt, I put one in the fridge and left it for an hour or so to adjust in temperature. And finally – that was what I was looking for!
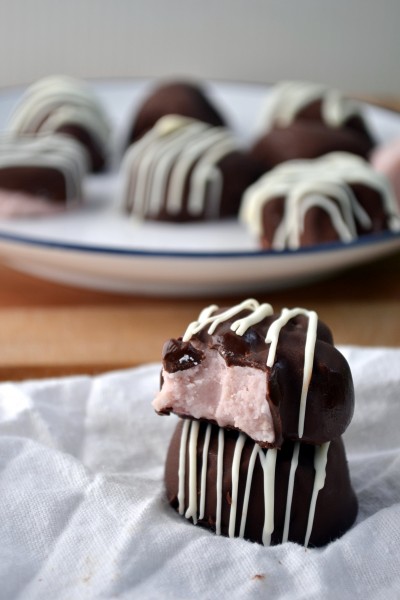
So I guess it goes without saying that these MUST be kept in the fridge. The filling is the perfect creamy softness that literally melts in your mouth immediately, and the chocolate has that amazing snap when you bite into it. I suppose if you’re making them well ahead of an event, I would recommend keeping them in the freezer until then because they do contain fresh fruit juice. They will last quite a while in the fridge as long as they’re sealed to keep any fridge smells and tastes out. Although I can’t exactly say how long because I haven’t been able to test that 🙂 Be sure to pop them in the fridge well ahead of serving to let them come to the proper temperature, and then I recommend serving them within a few minutes of removing them from the fridge as they warm up fairly quickly. Oh and the coconut oil in the chocolate will make them melt on your fingers pretty fast too, but I think that’s part of what makes them so amazing 🙂
I love calling these candies, but in all honestly, they are a super healthy candy. Even if you don’t think coconut is the healthiest choice these are still a way better option that most any store bought candy options. No, they aren’t perfect, they don’t have that super smooth sugary inside that most people like from filled chocolates, but they wont give you that crazy, headache inducing sugar high(or the low that causes you to eat the rest of the box), but I would totally choose these over store bought filled chocolates. Yeah, they’re awesome.
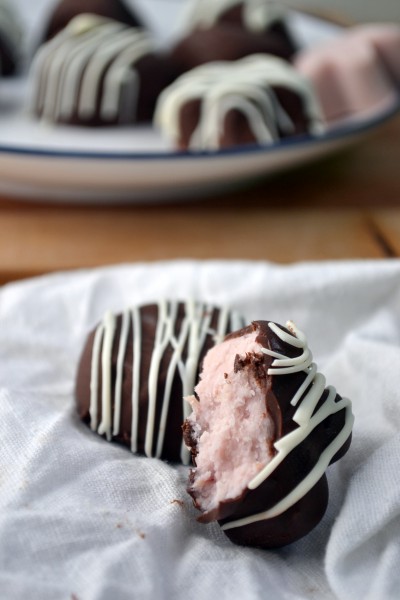
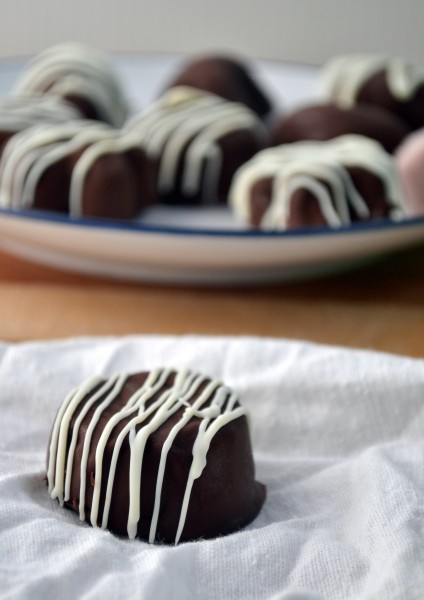
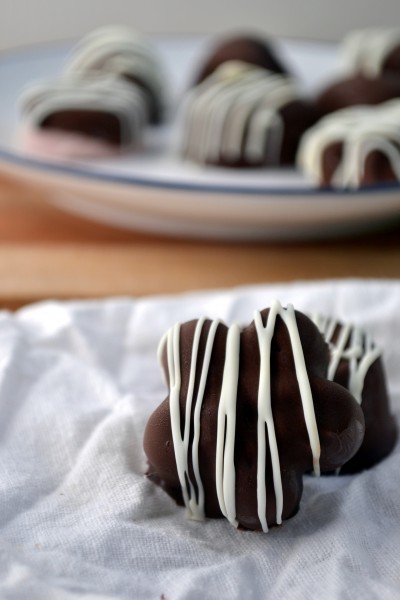
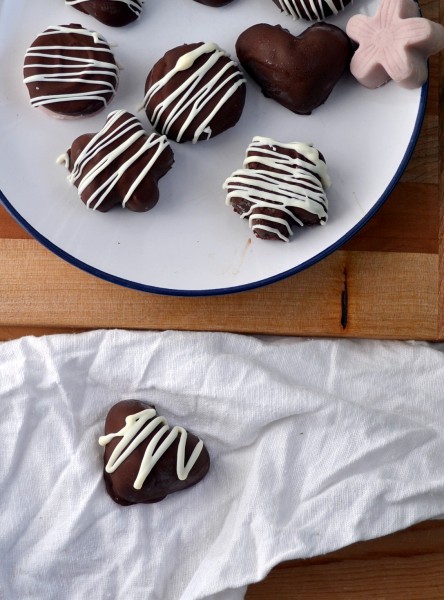
I’ll admit, I’m totally not a master at anything to do with chocolate, except eating it. My white chocolate didn’t exactly stick to my dark chocolate as you can kind of tell in the picture above. It stayed on until you bit it and then bits fell off. If you know why, let me know, I’m totally curious. But it didn’t really matter because it all tastes the same in your mouth, right?
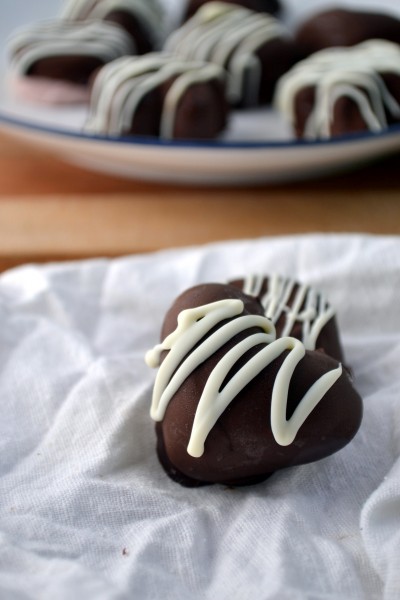
Can you tell how much I loved these from the amount of pictures? I apologize. Or maybe not, because there are worse things than suffering through looking at pictures of chocolates, right?
[print_this]
Coconut Cream Filled Chocolates
Makes approximately 24 1 tbsp sized candies
- 1/2 C coconut butter (I used homemade)
- 1/2 C orange juice(use blood orange for a slightly pink color but you may need to add slightly more sweetener as it’s a little more tart than a regular orange)
- 1/2 tsp very finely grated orange zest(optional, but the flavor from the juice is very mild)
- 2-3 tbsp raw honey, agave, or other mild flavored liquid sweetener
- 1 pinch sea salt
- 3 1/2 oz(or about 100g) dark chocolate(I used a dark chocolate Lindt bar)
- 2 tsp coconut oil
- White chocolate to decorate if desired(only about 1/4 C chips)
If not able to purchase coconut butter, start by making coconut butter in a blender or food processor. I have found that a larger grate of coconut works best, and be sure to use unsweetened. Be aware that your homemade coconut butter will take a long time to become butter – approximately 10-15 minutes and may not be as smooth as a store bought butter, but will still be delicious and will work just fine in these candies. Coconut butter takes about 12-13 minutes in my food processor with about 3 cups of shredded unsweetened coconut(it wont work as well with a small amount, so you will have quite a bit extra left over) and I usually only scrape it down from the sides once, after it’s become somewhat buttery already. Be sure to process until the butter is very liquidy and not clumpy at all. It may still be a little grainy unless you have a high powered blender, but that’s fine.
To make the coconut cream center, in a small bowl combine liquified coconut butter(you can simply do this in the microwave for a few seconds if it’s hardened, or if you make your own coconut butter, just use it right after blending as it will be liquid) with freshly squeezed orange juice. You can strain any pulp out if you want, but I kind of liked the little flecks of color. Add the zest, honey or other sweetener and sea salt. Mix very well, being sure to scrape the sides of the bowl to combine everything. Carefully spoon the mixture into small silicone moulds, or plastic chocolate moulds may even work well too. The mixture will still be very liquid, very gently place the filled moulds into the freezer on a level surface. If that’s not possible, place in in the fridge for 15-20 minutes before and they will have solidified enough to place on an uneven surface to freeze completely. Freeze for at least 1-2 hours until solid. Remove from the freezer and remove the candies from the mould onto a sheet lined with parchment and return to the freezer to keep cold as they will warm up fast.
Chop the chocolate into small pieces and melt in a double boiler or very carefully in the microwave with the coconut oil. I can’t guarantee that chocolate chips will dip as well so use a bar of chocolate if possible. If using the microwave, be sure to stir frequently to avoid burning it. Once completely smooth, set the chocolate aside to cool it down. I just had to let mine sit about 10 minutes until it was just barely warm. Too hot and the chocolate will melt the coconut candies, so be patient if it’s too hot.
Once ready to dip remove the coconut candies from the freezer. Working quickly, drop the candy, top down, into the chocolate. Using a fork, quickly flip the candy over and make sure it’s completely covered in chocolate before lifting the candy up and letting a little(if any) of the chocolate drain off before carefully setting it back on the sheet, using another fork to push it if needed. I used a sheet lined with a non-stick silicone baking mat, but wax paper should work just as well. Completely cover all candies with chocolate and return to the freezer for 10-15 minutes to make sure they’re completely solidified. If decorating with white chocolate, melt the chocolate and place in a small ziploc bag. To decorate, remove the candies from the freezer and cut the corner off the plastic bag and squeeze the chocolate through(being sure to cut a small enough opening to get a thin stream of chocolate). Decorate as desired and chill for 5 minutes before placing in an airtight container in the fridge until ready to serve(or at least 1 hour).
Note: Alternatively if you have no moulds to shape these candies, I believe it would work if you poured the mixture into a shallow pan or container and freeze it until solid. Then remove it from the container, cut into bite sized pieces and then freeze again for a few minutes before dipping in chocolate. I have not tried this, but I’m sure it would work, especially if the container is lined with plastic wrap or something to pull it out of the container once solidified.
[/print_this]


Comments & Reviews
Alana from Threadbare Cloak says
Hi Heidi,
I love these sweet treats so much I have included them in my post on DIY Mothers Day gift ideas. Here’s the link http://threadbarecloak.com/diy-gifts/last-minute-diy-mothers-day-gift-ideas.html
Cheers Alana
Heidi @ Food Doodles says
Thank you so much! 🙂
Beth says
O. My. Goodness. I tried these (with homemade coconut butter) and they were amazing! I brought them for family to try at Christmas. Some liked them, some didn’t (kinda a matter of opinion, I guess) but I’m just like, I don’t care if nobody likes them. That’s more for me to eat! Lol. I loved them!
Beth
Heidi @ Food Doodles says
Awesome! So glad you like them Beth 🙂 Thanks for stopping by to let me know!
Sarah says
Wow, these look incredible! Definitely putting this on my list of things to make!
Tali @ Macnifique says
Hey Heidi!
These look awesome! and seem very much ‘primal friendly’. I must attempt these! I assume you can change up the flavour by using different juice? Oh I’m getting all excited!
RE: getting the white chocolate to stick. You probably want to have your piping bag of white chocolate ready to drizzle over your candies soon after dipping in the dark chocolate and then placing them back in the fridge/freezer to cool. I reckon that way they will set together.
Heidi @ Food Doodles says
I actually didn’t realize it when I made or posted them, but yes they are! And the possibilities are endless, there are a few others I can’t wait to try 😀
Thanks for the chocolate tip – I’ll try that next time for sure!
Eat Good 4 Life says
OMG these look awesome, so bookmarking, and pinning this 🙂
Nora @ Natural noshing says
AHHHHHHHHHHHHHH these are STUNNING! I have got to try out this recipe, what fabulous coconut candies — they are just SO pretty!
Roxana GreenGirl { A little bit of everything} says
looking at them I would have never thought you went through such trouble making them. They look amazing and I bet was worth every second experimenting!
Amy @ Gastronome Tart says
I have never tried to make my own coconut butter before. They look and sound delicious! I am all about chocolate (and have inhaled a few sugary ones from a box the hubby brought home Tuesday) so these would be great to give me that sugar fix without over doing it.
Angie@Angie's Recipes says
These chocolate bites are really lovely. Coconut cream is a genius idea.
Sonia The Healthy Foodie says
GORGEOUS!!! OMG, what beautiful, mouth watering photos! I want to pin every single one of them… and then of course, I want to EAT every single piece of chocolate. You are simply GENIUS, Heidi. I so badly want to make these right now.
Oh, and ps… I’ve been having this super crazy craving for a big bowl of your brown rice pudding lately. I think I will be making a batch this weekend. Can’t take it anymore, I just want it sooooo bad! 😉
Heidi @ Food Doodles says
Aw, thank you!! Your comments seriously make my day 😀
That is so funny you should mention that! I just made it last week because I was craving it and just couldn’t resist!
Gosia says
This is b*e*y*o*n*d amazing, you skilled Chocolatier, you!
Heather @ Get Healthy with Heather says
These look outstanding!! Not only are they cute, but I love the ingredients in there too! Bravo to you!!!
Kristina @ Love and Zest says
wowsers! these are adorable. love your flavor combo.
Jane says
Oh my gosh, these are amazing!!! I love the pink center … awesome pictures!
Caitlin says
wow, you are very talented! these candies are gorgeous!
Regan @ the professional palate says
These sound delish! And look even moreso that way 🙂
So how did you make your own coconut butter?
Heidi @ Food Doodles says
It’s actually very easy to make in a food processor, although it takes a while of running your processor. I put more details into the recipe part of my post if you’re curious about trying to make your own 🙂
myfudo says
These really look delicious! I would love to try this too…The mix is unique. Can’t wait till I put on my apron again. =) Thanks for the post!
Rawkinmom says
These are great!!! I love all of the pictures!! I know what your talking about too…I made some treats and took so many pictures and then I wanted to post them ALL!!!!!!!! hahaha
Joanne says
Do you take orders? Because I choose these over Godiva. Anyday.
chinmayie @ love food eat says
That really does look fancy!
Krissy's Creations says
O.M.G. I would be proud of these too! I want a big handful of these chocolates!
sophistimom says
Not only are these perfect for Valentine’s Day, but when you make them so healthy, you’re really cooking with love. Sorry that sounds nerdy, but there it is.
Pure2raw twins says
oh yum! got to love coconut butter!
Marsha @ The Harried Cook says
These look so good! Absolutely picture perfect… and I am not a huge fan of coconut either, but I can think of a few people who would go bonkers for these… Thanks for sharing 🙂
Kathryn says
These look so professional, I don’t know what you’re talking about! I would be more than happy to receive a few of these tomorrow – I love coconut especially when combined with chocolate.
Erin @ Texanerin Baking says
I’m not a coconut butter (or coconut anything) fan, so I’m happy you mentioned you’re not really into it either. I’m definitely going to make these the next time I make coconut butter! I think you’re decorating skills are great. Really. 🙂
Nicole, RD says
They are beeeeautiful! Heidi, will you be my valentine? Pretty please? 🙂
Gina @ Running to the Kitchen says
Oh my gosh, I would be super proud too! These are gorgeous! And like you said, these are seriously almost “health” chocolates! Awesome combination Heidi! I would’ve taken a million pictures too 😉
Heather says
OMG these look amazing, like in I want one this very minute; I am so happy you shared this with us and all your beautiful candy pics, I cannot wait to make these this coming weekend!