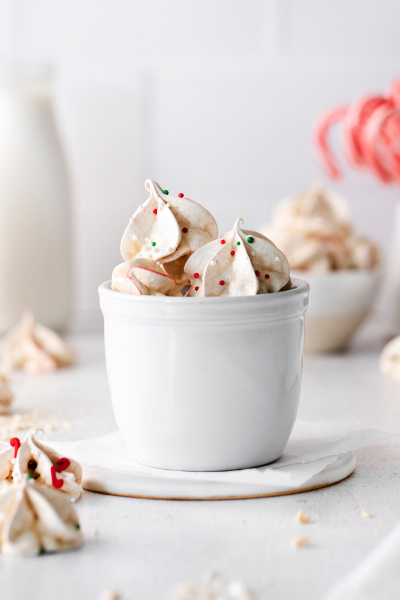
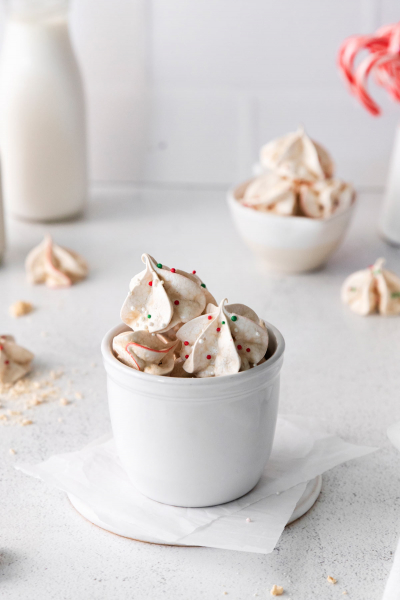
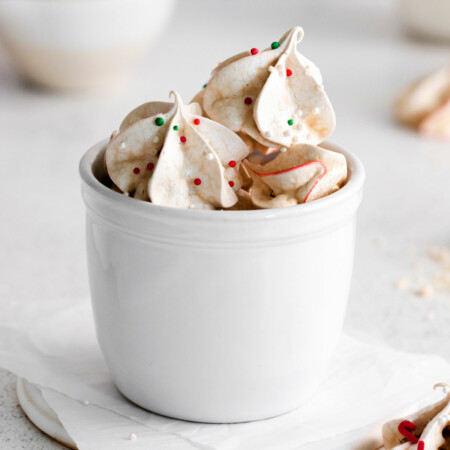
These peppermint meringues are light and airy, melt-in-your-mouth swirls of peppermint delight. They’re easy to make with only 5 ingredients, and they’re sure to spruce up your cookie tray. Meringues are made with egg whites and sugar, so they’re naturally gluten-free.
These festive gems are great to pass around when guests drop by and wrap them up as wonderful little holiday gifts.
They’re really easy, and most of the ingredients you probably already have in your pantry.
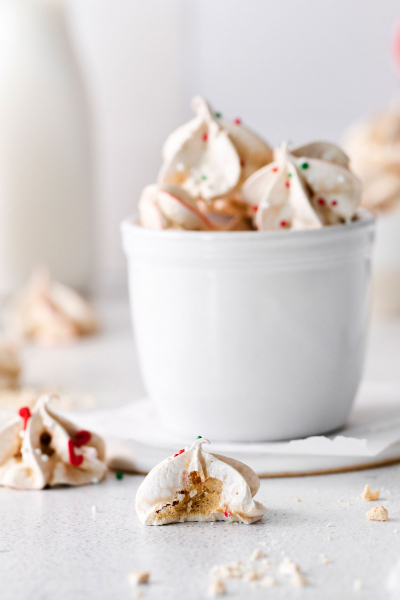
I love these Eggnog Meringues. There’s just something about the way they’re dainty yet crispy.
I also love peppermint, and I usually make these Peppermint Chocolate Puddle Cookies this time of year. Then I had an epiphany…
Why not mix two great tastes? So here they are in all their glory, peppermint meringues!
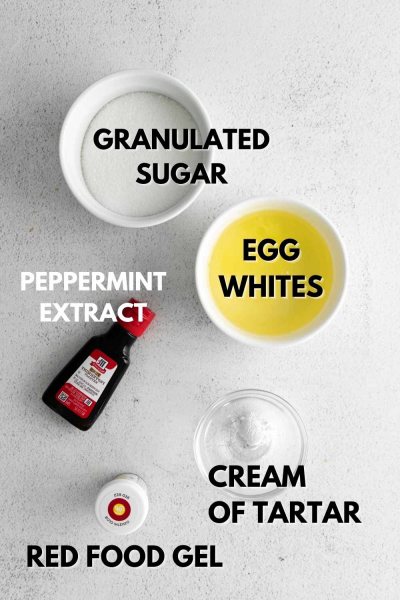
Meringue Ingredients:
Egg whites, at room temperature – If the egg whites are at room temperature, the result will be lighter and chewier meringues.
Cream of tartar – Cream of tartar stabilizes the egg whites. It also prevents cracking or weeping while the meringues are in the oven.
Granulated sugar – If you have caster sugar, you’ll get an even lighter meringue. Granulated sugar also works great in this recipe!
Pure peppermint extract – added for flavor.
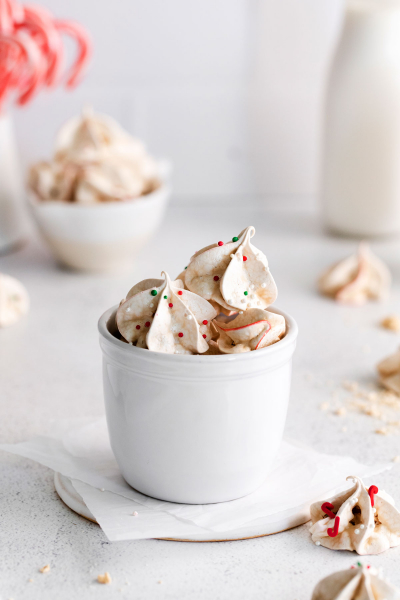
Red gel food coloring – helps the meringues resemble candy canes, but to be honest, I hate food coloring, and I always omit it when I make these for ourselves. I wanted to make them pretty for the blog, though. 😉
Sprinkles, optional – I recommend the little round ones from Wilton because they don’t bleed in the oven. Sometimes the larger traditional sprinkles can discolor the macarons.
How to make meringues:
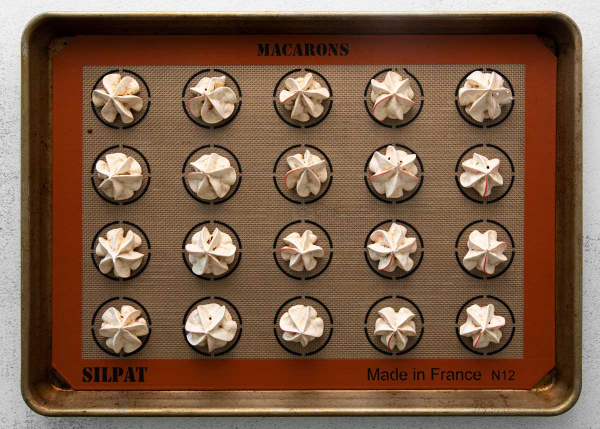
- Line two baking sheets with parchment paper or use silpats and preheat the oven.
- Beat egg whites at medium-low until frothy.
- Add cream of tartar and continue mixing until combined.
- Gradually add sugar, about 1 tablespoon at a time until you’ve added all the sugar.
- Once incorporated, turn the mixer to medium speed and beat until you get stiff peaks.
- Mix in the peppermint extract until combined.
- They’re ready to pipe!
This recipe takes a mere 10 minutes to prep and 1 hour to bake with an hour to cool.
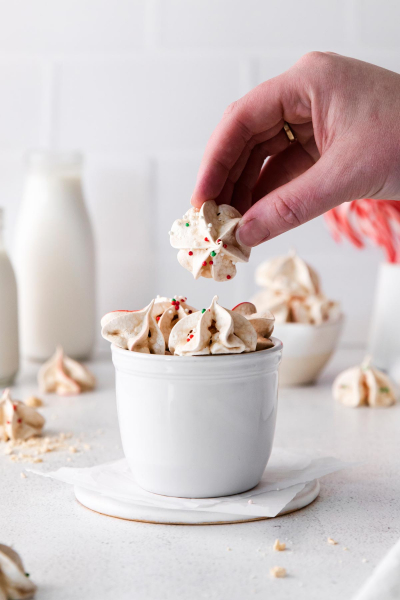
You’ll get about forty-eight 1-inch meringues that you can store in an airtight container for up to 5 days.
Tips:
- If you forget to let your eggs come to room temp, drop the whole egg into a cup of warm water and let it sit for a few minutes. When the egg is no longer cold, just dry it off and add the whites to the mixing bowl, but be careful not to get any water or yolk in the bowl/
- Use squeaky clean, dry metal bowl and utensils. The smallest amount of grease, residue or moisture can be absorbed into the meringues, which will affect the final result of the meringues.
- Older eggs will actually produce higher meringues. But you want to test the egg before using it. If you have eggs that have been in the fridge a while, just put the egg in a glass of water. If it stands up it’s meringue worthy. If it lies on its side, it’s a fresh egg. BUT if it floats, toss it!
- When separating the egg whites, do not leave any yolk behind. It’s easier to achieve with eggs taken straight out of the fridge. Then just let the egg whites sit out for 30 minutes before you start making the recipe.
- Don’t dump the sugar all at once. Take your time and add just a tablespoon at a time. The sugar needs to completely dissolve, so give it the time it needs.
- To test the meringue, rub a bit between your thumb and forefinger. If it is gritty, keep beating until the sugar has dissolved and no longer feels grainy.
- When the meringue is shiny and holds stiff peaks, stop! You don’t want to overbeat the egg whites. You want stiff peaks, that is when you know the meringue is done.
- You want the meringues to cool in the oven. Just turn the oven off, then open the door and let them sit for about an hour to come to room temperature. You can even leave them for longer or let them stand in the oven overnight if it’s easier.
- If it’s humid outside, then they may take longer to dry out, so take note of the weather. You’ll want to make these on a dry day. If it’s too humid, it will be sticky and limp.
- Avoid using too much food coloring; it will add too much moisture.
- Baking meringues at different temperatures will give you different textures. If you like them chewier in the center, then you’ll want to take them out of the oven to cool after about an hour of baking.
- Let them cool completely! They’ll crisp up once they cool.
- Be sure to slip parchment paper in between the cookie layers if you store them.
- Make them the way you like them! You can use any kind of extract you like and food coloring, too.
What you need to make these peppermint meringues:
- Metal bowl – The bowl should be squeaky clean, which is why I don’t recommend using plastic bowls. If the bowl has traces of grease, it will absorb into the meringue.
- Spatula – You’ll want to spoon all of the meringue into the piping bag, and a spatula does a terrific job.
- Disposable piping bag with a star tip – this will give you a great-looking holiday meringue.
- Edible red gel food marker – this is optional if you want candy cane stripes. Don’t use liquid, be sure to get a gel, it’s easier to work with.
- Stand mixer – with a whisk attachment, but you can use an electric handheld whisk if that is what you have.
- Lined baking sheet or silpat mat
- Tall glass to help fill the piping bag
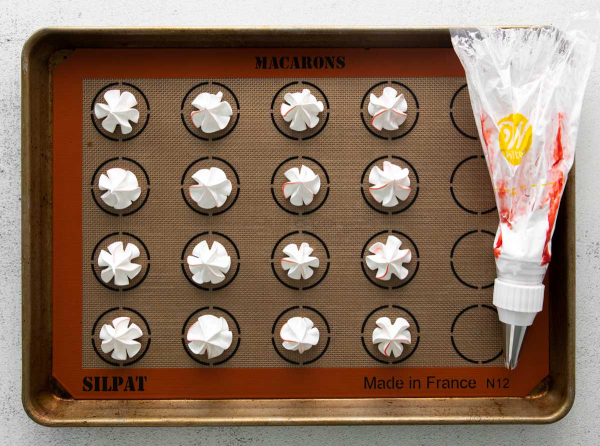
How to pipe meringues with candy cane stripes:
Using a small spoon or food brush, paint 4 vertical lines on the inside of a disposable piping bag that has been fitted with a star tip.
Then carefully fill the bag with meringue. Try not to smudge food coloring lines.
Pipe 1” meringues onto a prepared baking sheet leaving 1” space between them.
Bake for 60 to 65 minutes or until they’re crisp.
Turn the oven off and open the door.
Let the meringues cool in the oven until they reach room temperature.
Different candy cane designs:
In the directions above, you can paint red gel food coloring vertically inside the disposable piping bag to achieve vertical strips, but there are other ways to get a festive-looking meringue.
If you’d like small red accents around the edges of the meringue, just paint 4, ¼-inch thick lines around the inside of the piping bag.
Or to get red and white candy cane-like stripes, paint four 1-inch thick lines.
Try not to smudge your food coloring lines. If it happens, don’t worry. They’ll still come out nicely.
Piping tips:
- It’s pretty easy to pipe meringues, and you’ll be an expert once you’ve piped a few. Not every peppermint meringue has to look the same, so don’t worry if there are some differences.
- If you’re using parchment paper on a baking sheet, put a little meringue on the underside of the paper on each corner of the baking sheet. This helps keep the paper in place and prevents sliding.
- To fill the piping bag, it’s much easier to put the bag in a wide-mouthed, tall glass. Just fold over the edges and gently spoon in the meringue. This will also help from smudging the painted design inside the bag. Just relax and don’t get in too much of a hurry.
- To start piping, begin making small mounds by holding the bag perpendicular to the surface. Squeeze the piping bag gently, using even pressure to get 1-inch mounds. Then release the pressure and lift the bag away.
- If you don’t have a piping bag, then you can use a plastic storage bag instead. Just fill the bag and squeeze out the air, close the bag and then cut the corner of the bag. This won’t give you the same effect as the star-tip, but it works in a pinch.
- Be sure to use food gel, not liquid for the red stripes.
Other Decorative Ideas:
If you have a few candy canes to spare, you can add crushed peppermint candy to the meringues instead of the food gel. Just sprinkle on the crushed peppermint candy and bake it in the oven for a little extra flavor and crunch.
You don’t have to use red gel food coloring, you can use green or gold or whatever flips your fancy.
I think mini-mint chocolate chips would also be nice, but I’d add them after they’ve baked and before they’ve completely cooled. Just press the tips of the chips into the meringue for a polka-dot jubilee. Or you can chop them up and sprinkle them over the top.
It’s really your choice as to how you want to design these sweet swirls.
Other Easy Holiday Treats:
It’s baking season, and I’ve got several things you might like to try.
These Italian Almond Cookies are a must-make for my holidays. They’re super quick and easy with just 5 ingredients, but they look elegant and taste terrific.
This Peppermint White Chocolate Bark is perfect to give as gifts or to perk up your sweets table.
This 30 Second Honey Whipped Cream is just a twirl away. It can be made with honey or powdered sugar.
These 100 Whole Wheat Dutch Kruidnootjes are Dutch Gingerbread Cookies. They’re dipped in white chocolate for a wintery look.
These 100 Whole Wheat Cranberry Pistachio Biscotti are amazing. They’re pretty simple to make and drizzled in chocolate for a great coffee-time treat.
That’s it! I hope you enjoy these peppermint meringues! If you make them, please drop a comment below, I’d love to hear how they turned out!
Peppermint Meringues
Ingredients
- 2 large egg whites at room temperature
- ¼ teaspoon cream of tartar
- ½ cup (100 grams) granulated sugar
- ½ teaspoon pure peppermint extract
- red gel food coloring, optional
- little round sprinkles, optional*
Instructions
- Preheat the oven to 275F °F (135 °C) and line two baking sheets with parchment paper or silpats.
- To the bowl of a stand mixer fitted with the paddle attachment, add the egg whites and beat at medium-low until the egg whites are frothy. This takes about 30 seconds.
- Add the cream of tartar and continue mixing at medium-low speed until combined.
- Gradually add the granulated sugar, about a tablespoon at a time. It should take 1-2 minutes to add all of the sugar.
- Once all of the sugar has been fully incorporated, turn the mixer to medium speed. Beat the mixture until stiff peaks form, which will take about 3 minutes.
- Mix in the peppermint extract just until combined.
- If you want to make a candy cane design, use a small spoon or a food brush to paint four vertical lines on the inside of a disposable piping bag which has been fitted with a round or star tip. If you would like small red accents around the edges, paint four ¼-inch thick lines. If you want the meringues to be red and white like candy canes, paint four 1-inch thick lines.
- Carefully fill the bag with meringue. Try not to smudge your food coloring lines. If it happens, don’t worry. They’ll still come out nicely.
- Pipe 1” meringues onto the prepared baking sheet, leaving at least 1” space between them.
- Sprinkle the sprinkles over the top, if using.
- Bake the meringues for 60-65 minutes or until they’re dry and crisp. Turn off the oven, open the oven door, and let the meringues cool to room temperature. This will take about an hour.
- Store meringues in an airtight container for up to 5 days.
Notes
- For sprinkles, I recommend the little round ones from Wilton because they don’t bleed in the oven. Sometimes the larger traditional sprinkles can discolor the macarons.


Comments & Reviews
Lori | The Kitchen Whisperer says
OMGosh these are so darling and perfect for the holidays! Little bites of heaven for sure! They are so pretty and everyone loved them!
silvia says
These mini meringues are so cute and they were delicious. We love peppermint and they are perfect.
Tammy says
These came out SO pretty! I love the touch of red for the extra festive touch…meringues are such a beautiful and light treat to make.
Jacqueline Debono says
These meringues look beautiful. Perfect for the holidays and for parties! On my to make list!
Adriana says
Your meringues look amazing! You make it look so easy to make I might get inspired to bake some before Christmas.
Dennis Littley says
Your meringues were so easy to make and delicious! thanks for sharing your recipe
Cathleen says
I love meringues so much, and these look perfect for the holidays!! I am definitely giving then a go, thanks so much for the recipe 🙂
Colleen says
I always found meringues a bit intimidating, but thanks to your detailed tips and instructions, they came out perfectly. Thank you!
Amanda Dixon says
These little meringues are the perfect holiday treat! They were so light and airy and full of delicious peppermint flavor. Such a fun and festive candy!
Farrukh Aziz says
These look adorable! The sprinkles add such a festive detail to the meringues, great recipe, Erin!