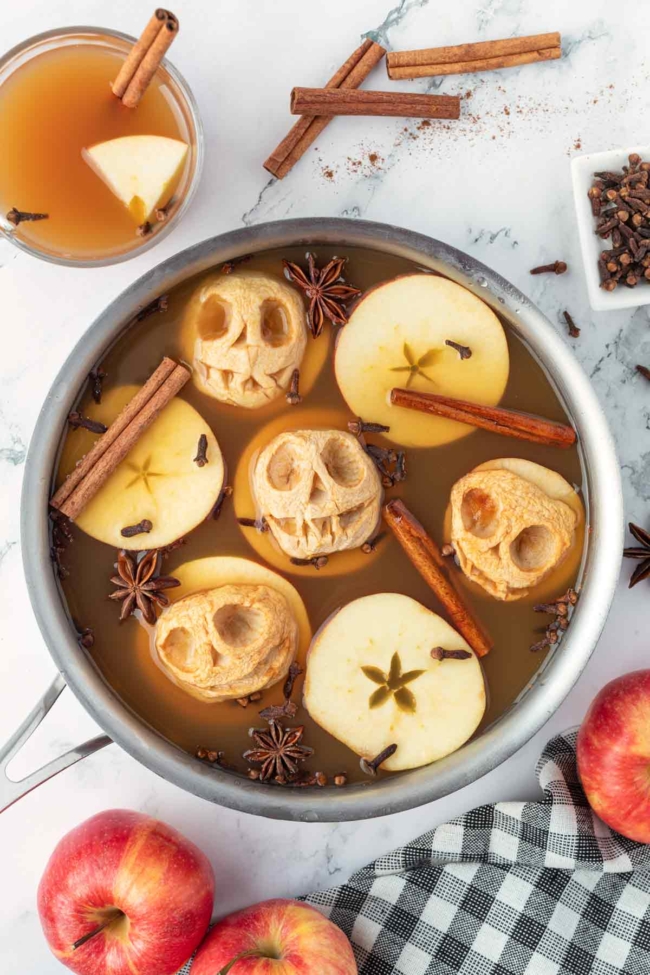
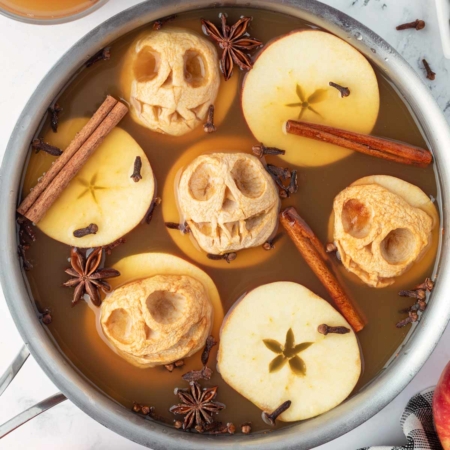
Shrunken head apple cider turns a simple pot of warm spiced cider into an easy Halloween drink with a seriously creepy presentation. Carved apple halves slowly shrivel in the oven, then are served on fresh apple slices to help keep the little faces visible on top of each mug.
The cider itself is intentionally simple. Apple cider, cinnamon sticks, cloves and star anise simmer together for just 15 to 20 minutes, so most of the time involved in this recipe is hands-off while the apple heads bake.
It’s also completely alcohol-free, so it works for kids and adults. And unlike the floating eyeballs in my Non-Alcoholic Halloween Punch, which need a little help staying in position, these apple heads are easy to serve: a fresh apple slice floats underneath each one like a little raft, helping keep the face upright and visible.
What’s to Love
- Easy Halloween drink – the cider uses just apple cider and a few whole spices
- Creepy without complicated decorating – a paring knife and a few exaggerated features are all you need to turn apples into shrunken heads
- Mostly hands-off – once the apples go into the oven, they simply bake and shrivel while you get everything else ready
- Kid-friendly – this is a completely non-alcoholic Halloween cider
- Gluten-free, dairy-free and vegan as written – no substitutions are needed, but check your apple cider label if needed for an allergy
Ingredients
Please scroll down for the full recipe. These are just notes on select ingredients.
- Apples – firm apples are easiest to peel and carve. Granny Smith is a great choice because it holds its shape well. Smaller apples are especially useful if you want the finished heads to fit neatly into individual mugs.
- Apple cider – use regular non-alcoholic apple cider. There’s no need to add sugar because the cider is already plenty sweet.
- Lemon juice – brushing the apples with a little lemon juice slows down browning while you’re carving and preparing them.
- Whole spices – cinnamon sticks, whole cloves and star anise add warm fall flavor without leaving ground spices floating in the cider.
How to Make It
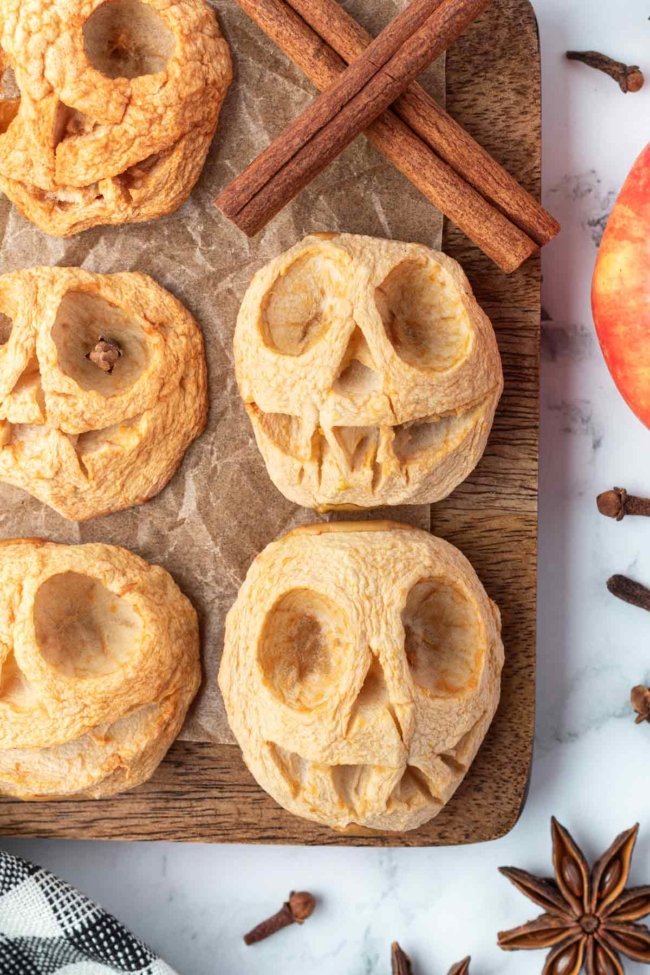
Start with the shrunken heads since they need about 1 1/2 hours in the oven.
- Peel four apples, cut them in half vertically and remove the cores and seeds.
- Use a small paring knife or melon baller to carve eyes, noses and mouths into the rounded side of each apple half. Make the features larger and deeper than you think they need to be since they become less distinct as the apples shrink.
- Brush the apples lightly with lemon juice and bake at 250°F (120°C) for about 1 1/2 hours, or until they look wrinkled and slightly dry around the edges. If you’d like them more shriveled, continue baking in 15-minute increments.
- While the apples finish baking, gently simmer the apple cider with the cinnamon sticks, cloves and star anise for 15 to 20 minutes.
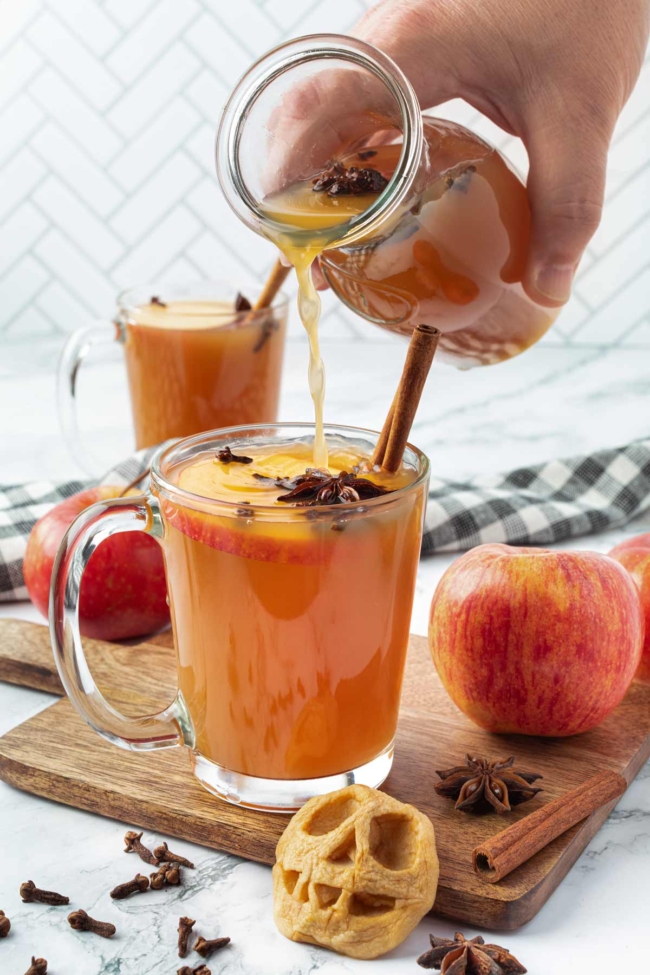
- Just before serving, cut the remaining fresh apple crosswise into 1/4-inch (6-mm) slices. Float one fresh apple slice on each serving of cider and set a shrunken apple head on top.
Tips for Success
- Choose small, firm apples – they’re easier to carve and the finished heads fit into mugs better than very large apple halves
- Exaggerate the faces – cut fairly large eyes and mouths because the details shrink along with the apple
- Keep the designs simple – you don’t need elaborate carving for these to look creepy once they’ve shriveled
- Use a fresh apple slice as a raft – it gives the shrunken head a wider, more stable base and helps keep the face upright and visible.
- Don’t boil the cider – keep it at a gentle simmer so you warm and infuse it without reducing it unnecessarily
Troubleshooting
- The apple heads aren’t wrinkled enough – apple size and moisture content affect the baking time. Continue baking in 15-minute increments until you’re happy with how shriveled they look.
- The apple heads keep tipping over – make sure the fresh apple support slices are about 1/4 inch (6 mm) thick and add the shrunken heads only after the slices are floating on the cider.
- The cider tastes too strongly spiced – strain out the spices sooner. You can also add a little more plain apple cider to dilute it.
- The fresh apple slices are browning – cut them shortly before serving or brush them lightly with lemon juice.
Make Ahead & Storage
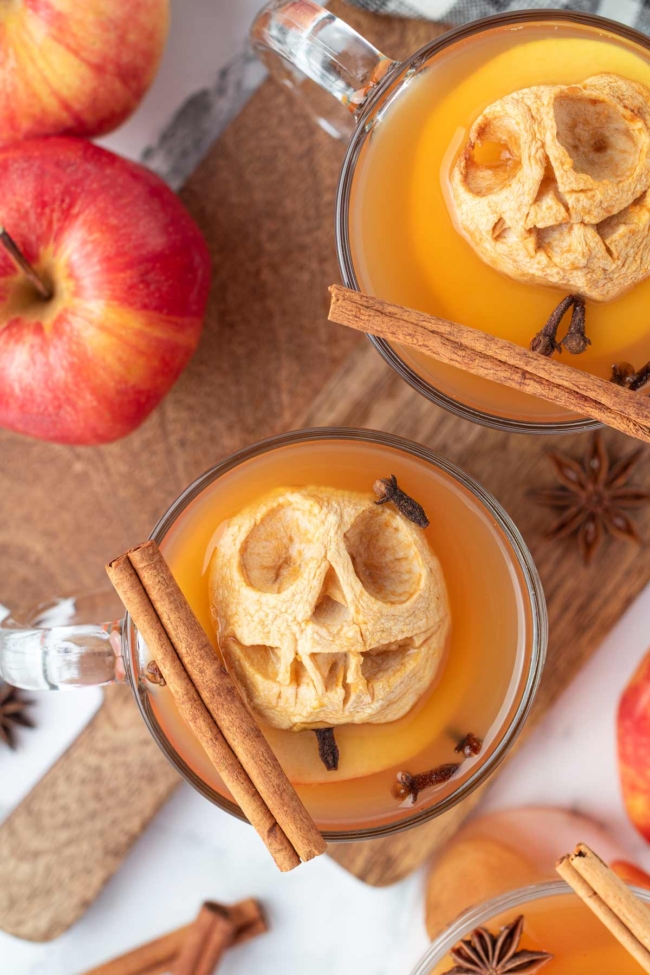
The shrunken apple heads can be made up to 1 day ahead. Let them cool completely, then refrigerate them in an airtight container.
You can also prepare the spiced cider ahead of time. Strain out the whole spices, cool the cider and refrigerate it in a covered container for up to 4 days. Reheat it gently on the stovetop before serving.
Wait until shortly before serving to cut the fresh apple slices that support the heads. Refrigerate any leftover cider for up to 4 days total.
What to Serve With Shrunken Head Apple Cider
- Monster Burgers for an easy Halloween dinner
- Halloween Meatballs for a creepy savory option
- Halloween Fruit Salad for another fruit-based Halloween recipe
- Meringue Ghosts for a light Halloween treat
This shrunken head apple cider is an easy way to make an ordinary fall drink look completely different for Halloween. The little apple faces only get creepier as they wrinkle in the oven, and the fresh apple slices underneath help keep them front and center when it’s time to serve.
🎃🍎☕ Did you try this shrunken head apple cider? ☕🍎🎃
Please share your feedback by leaving a ✍️ review and 🌟 rating – it helps me and others! I so appreciate it. 💖
Shrunken Head Apple Cider
Ingredients
- 5 (910 grams) firm apples such as Granny Smith, divided
- 2 tablespoons lemon juice divided
- 8 cups (1.9 liters) non-alcoholic apple cider
- 3 cinnamon sticks
- 6 whole cloves
- 1 whole star anise
Instructions
Make the shrunken apple heads:
- Preheat the oven to 250°F (120°C). Line a large baking sheet with parchment paper.
- Peel 4 of the apples and cut each one in half vertically. Remove the cores and seeds with a melon baller or small spoon.
- Using a small paring knife or melon baller, carve simple faces into the rounded side of each apple half. Make the eyes and mouths fairly large and deep since the features will become less distinct as the apples shrink.
- Brush the apples lightly all over with about half of the lemon juice. Arrange them cut-side down and carved-side up on the prepared baking sheet.
- Bake for about 1 1/2 hours, or until the apples have shriveled and begun to dry and lightly brown around the edges. If they aren't wrinkled enough after 1 1/2 hours, continue baking in 15-minute increments for up to 1 hour longer.
Make the spiced cider:
- During the last 20 minutes of baking, add the apple cider, cinnamon sticks, cloves and star anise to a large saucepan or Dutch oven. Bring just to a simmer over medium heat.
- Reduce the heat to low and simmer gently for 15 to 20 minutes. Do not boil. Strain out the spices if desired.
Prepare the apple slices:
- Just before serving, cut the remaining apple crosswise into approximately 1/4-inch (6-mm) rounds. Remove any visible seeds. Brush the slices lightly with the remaining lemon juice.
Serve:
- Ladle the warm cider into mugs. Float one fresh apple slice on top of each mug, then place a shrunken apple head on the apple slice. Serve warm.
- The shrunken apple heads can be made up to 1 day ahead and refrigerated in an airtight container after cooling completely. You can also prepare the spiced cider ahead of time. Strain out the whole spices, cool the cider and refrigerate it in a covered container for up to 3 days. Reheat it gently on the stovetop before serving.
Notes
- The exact baking time for the apple heads will depend on the size, variety and moisture content of the apples. They should look noticeably wrinkled and somewhat dry but do not need to be completely dehydrated.
- Smaller apples work especially well for individual mugs.
- As written, all of the ingredients are naturally gluten-free, dairy-free and vegan. If needed for an allergy, check the label of your packaged apple cider for any added ingredients.
- The nutrition information provided is calculated as a courtesy and is only an estimate. I am not a licensed nutritionist or dietitian. For the most accurate nutritional data, consult a professional or use your preferred calculator.









Leave A Reply!